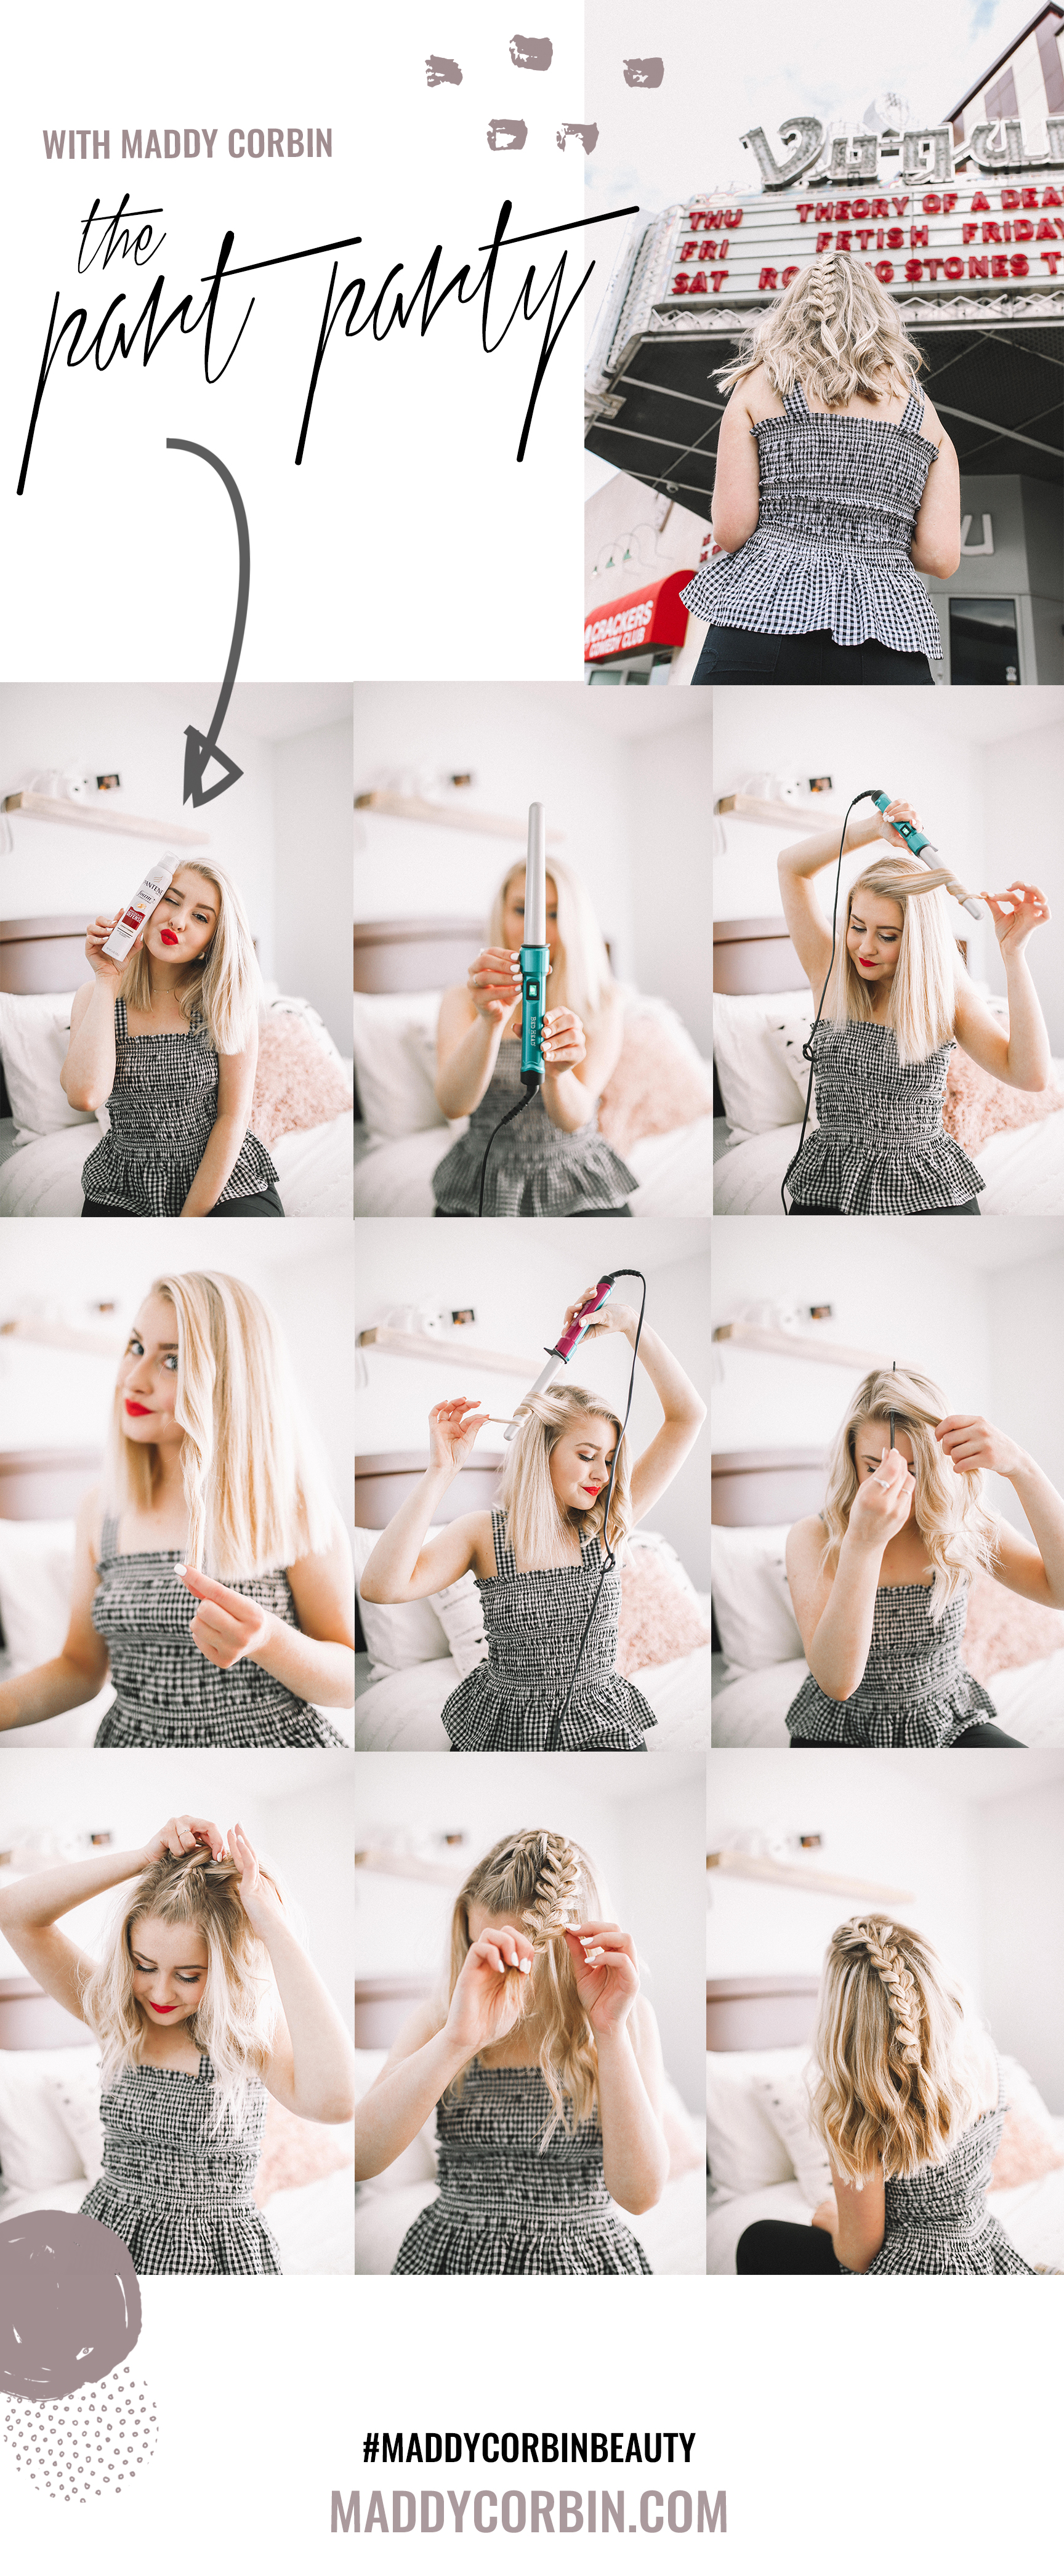
The Part Party Tutorial
In Collaboration with Pantene
Welcome short locks! This is my first tutorial since I have chopped off my hair (again) and I am super excited to share my go-to simple hairstyle, in collaboration with Pantene's new In-Shower Foam Conditioners. Guys, this stuff is Ah-mazing. I have super find hair, and lots of it, so I need a good conditioner, but I hate when it makes me hair flat and soaked in grease. Pantene's conditioner doesn't do any of that, it leave me with tons of volume and silky hair that is ready for the day!
Meet the "Party Party Tutorial" another addition to my latest category on MaddyCorbin.com #MaddyCorbinBeauty! If you have any additional questions or want to extra tips, leave me a comment below!

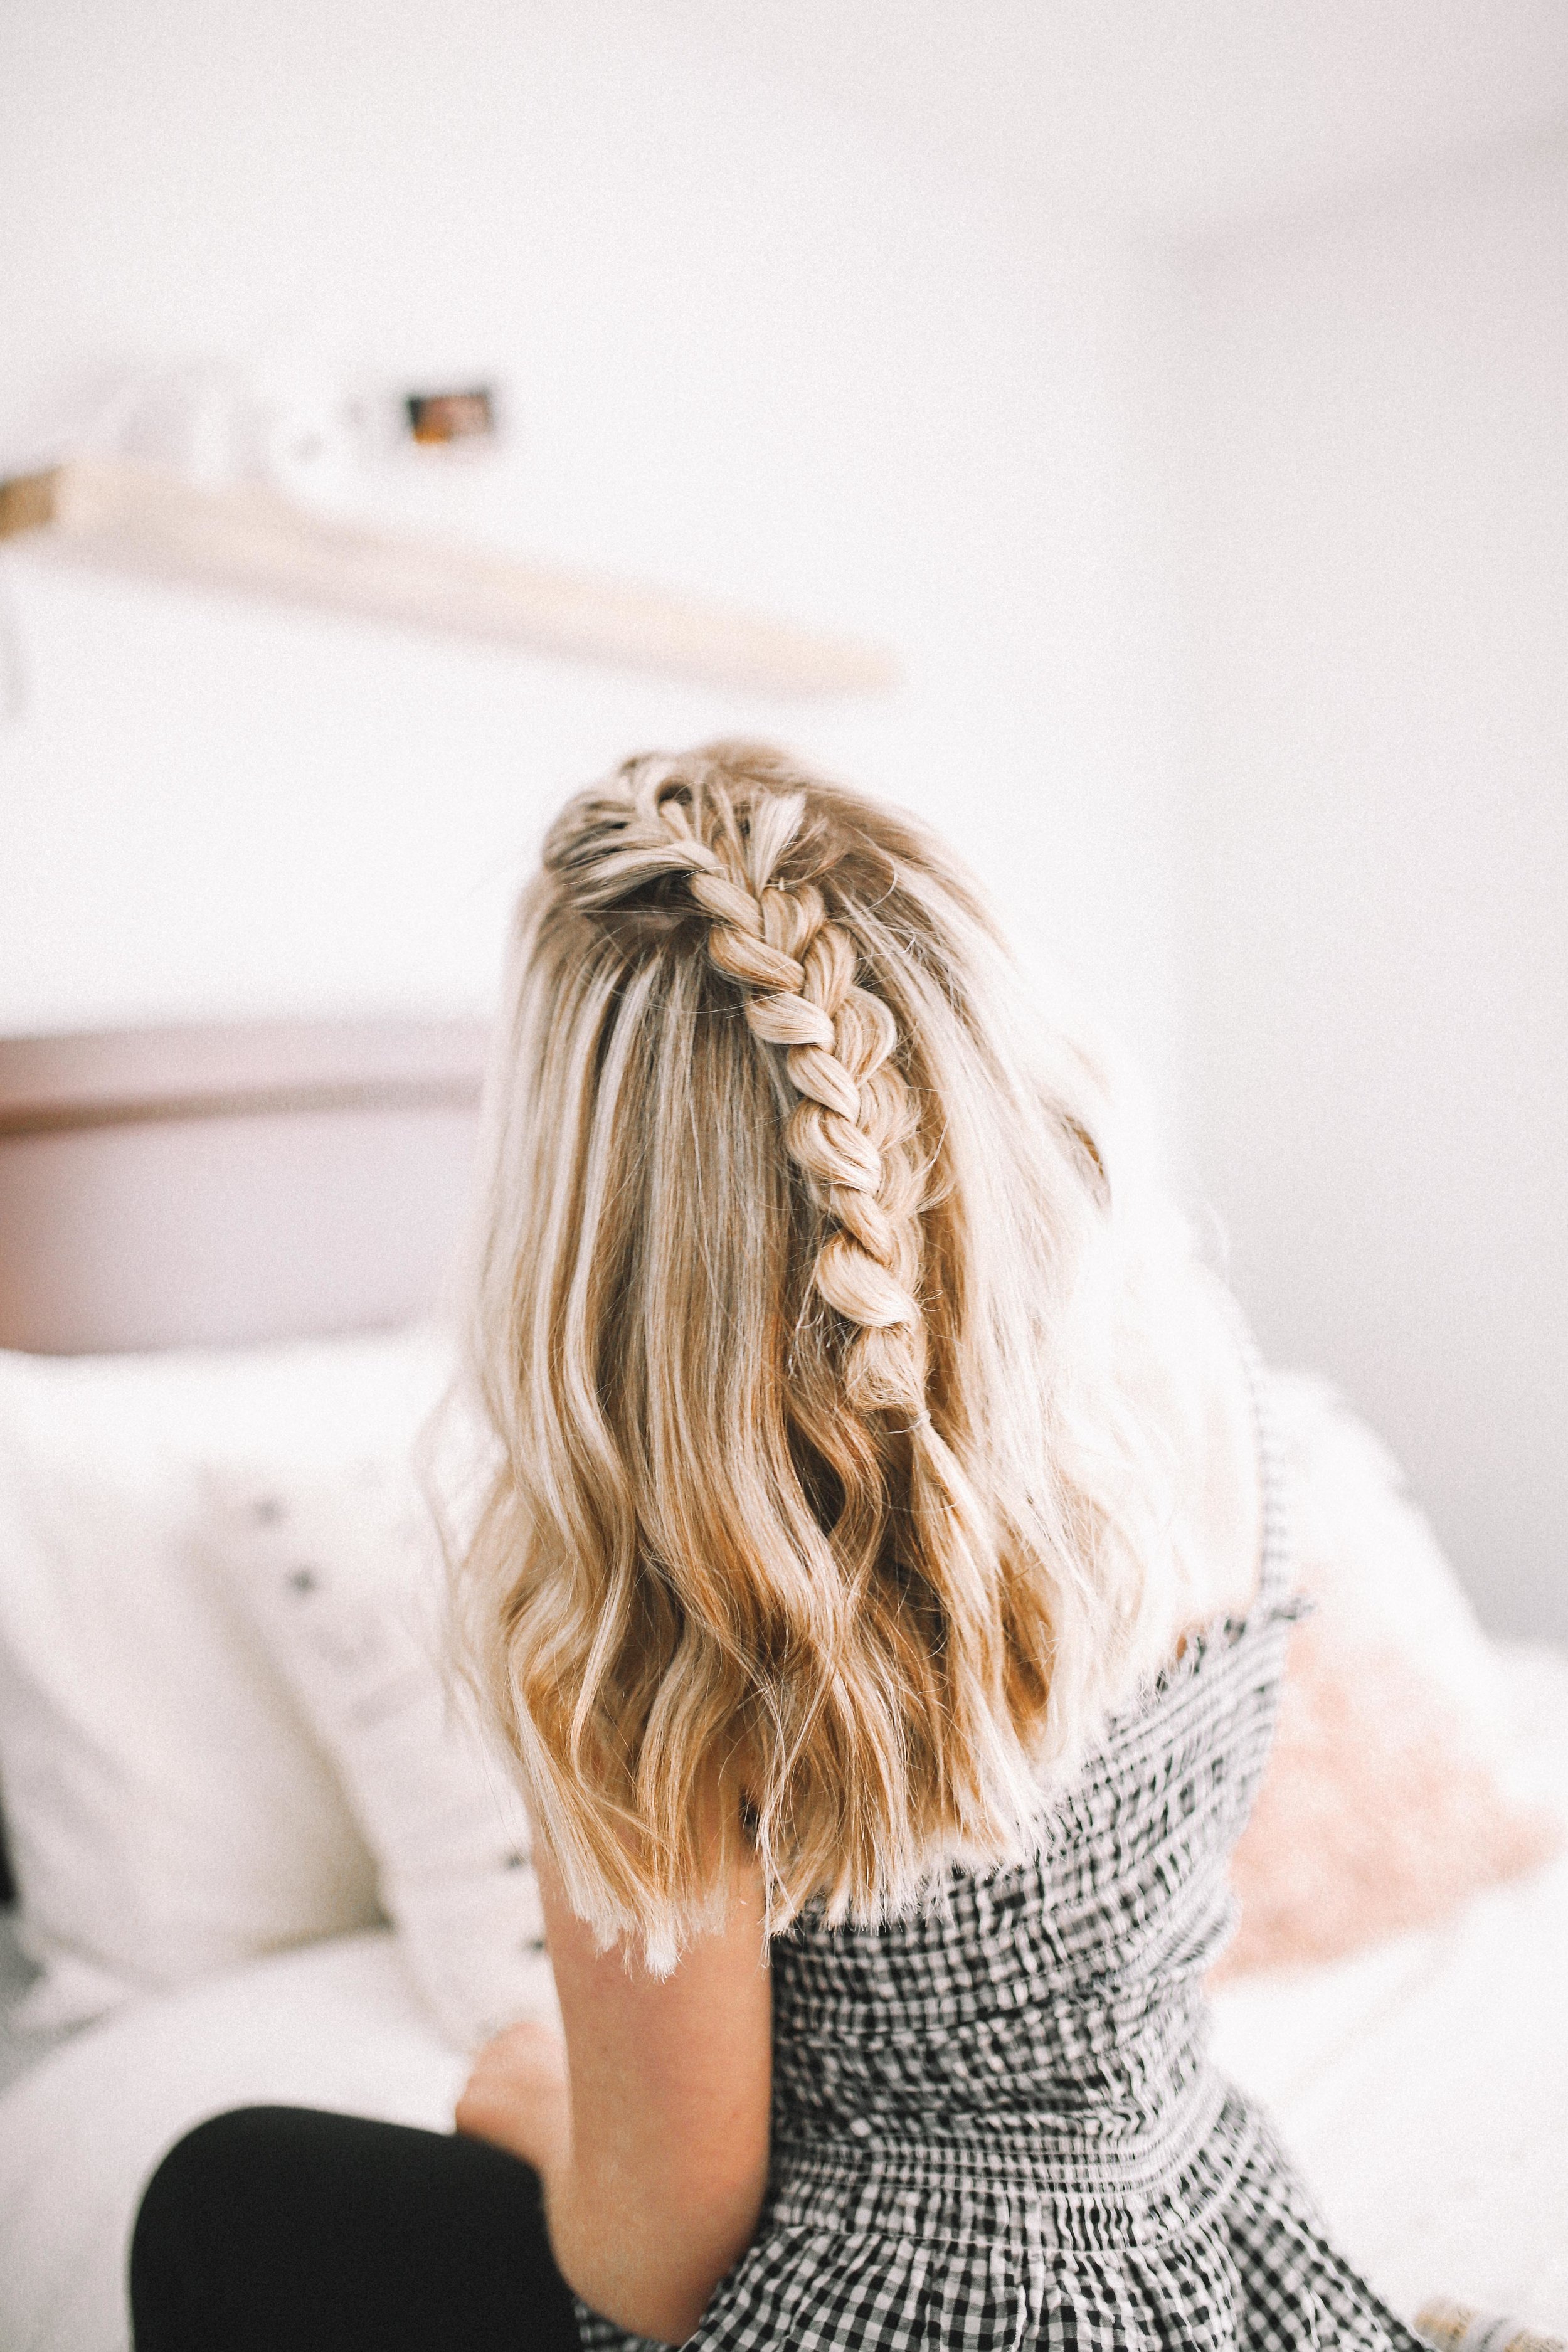
THE PART PARTY ↓
fresh curls & a french braid along a center part!
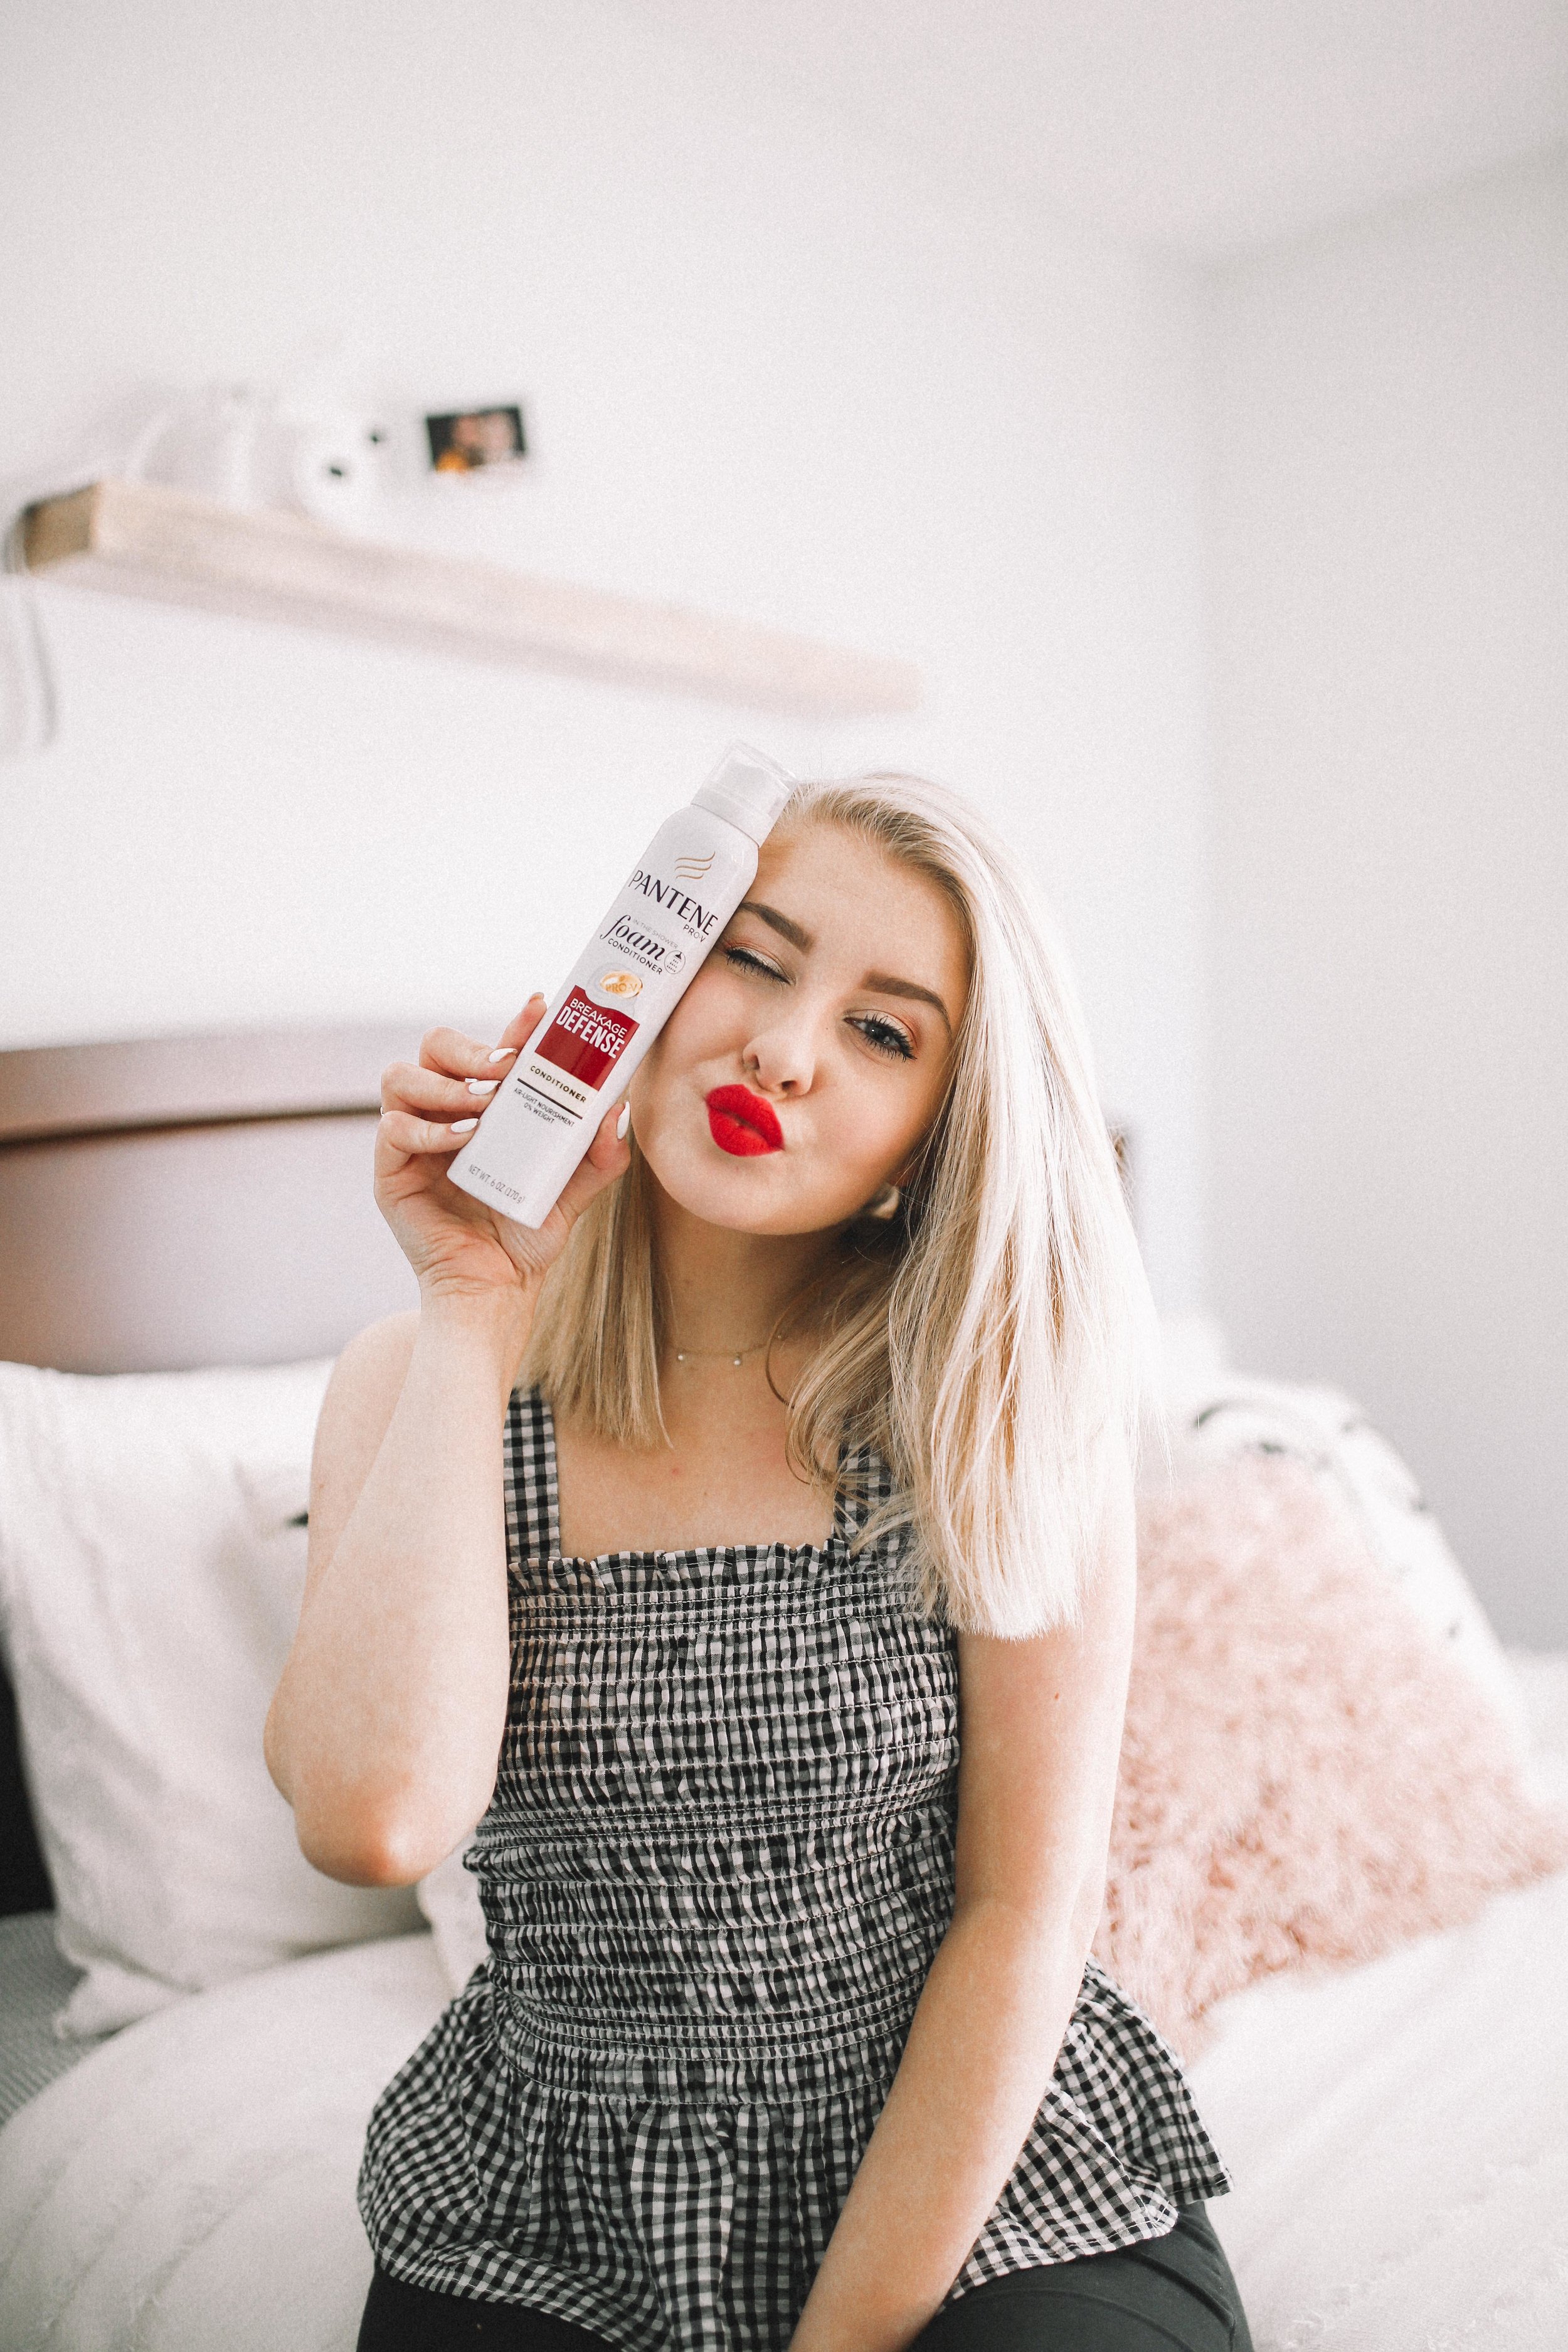
Step 01: Start with freshly washed hair. After shampooing I use the Breakage Defense In-Shower Foam Conditioner by Pantene. Fun Fact: Did you know that it is infused with micro bubbles AND only $6
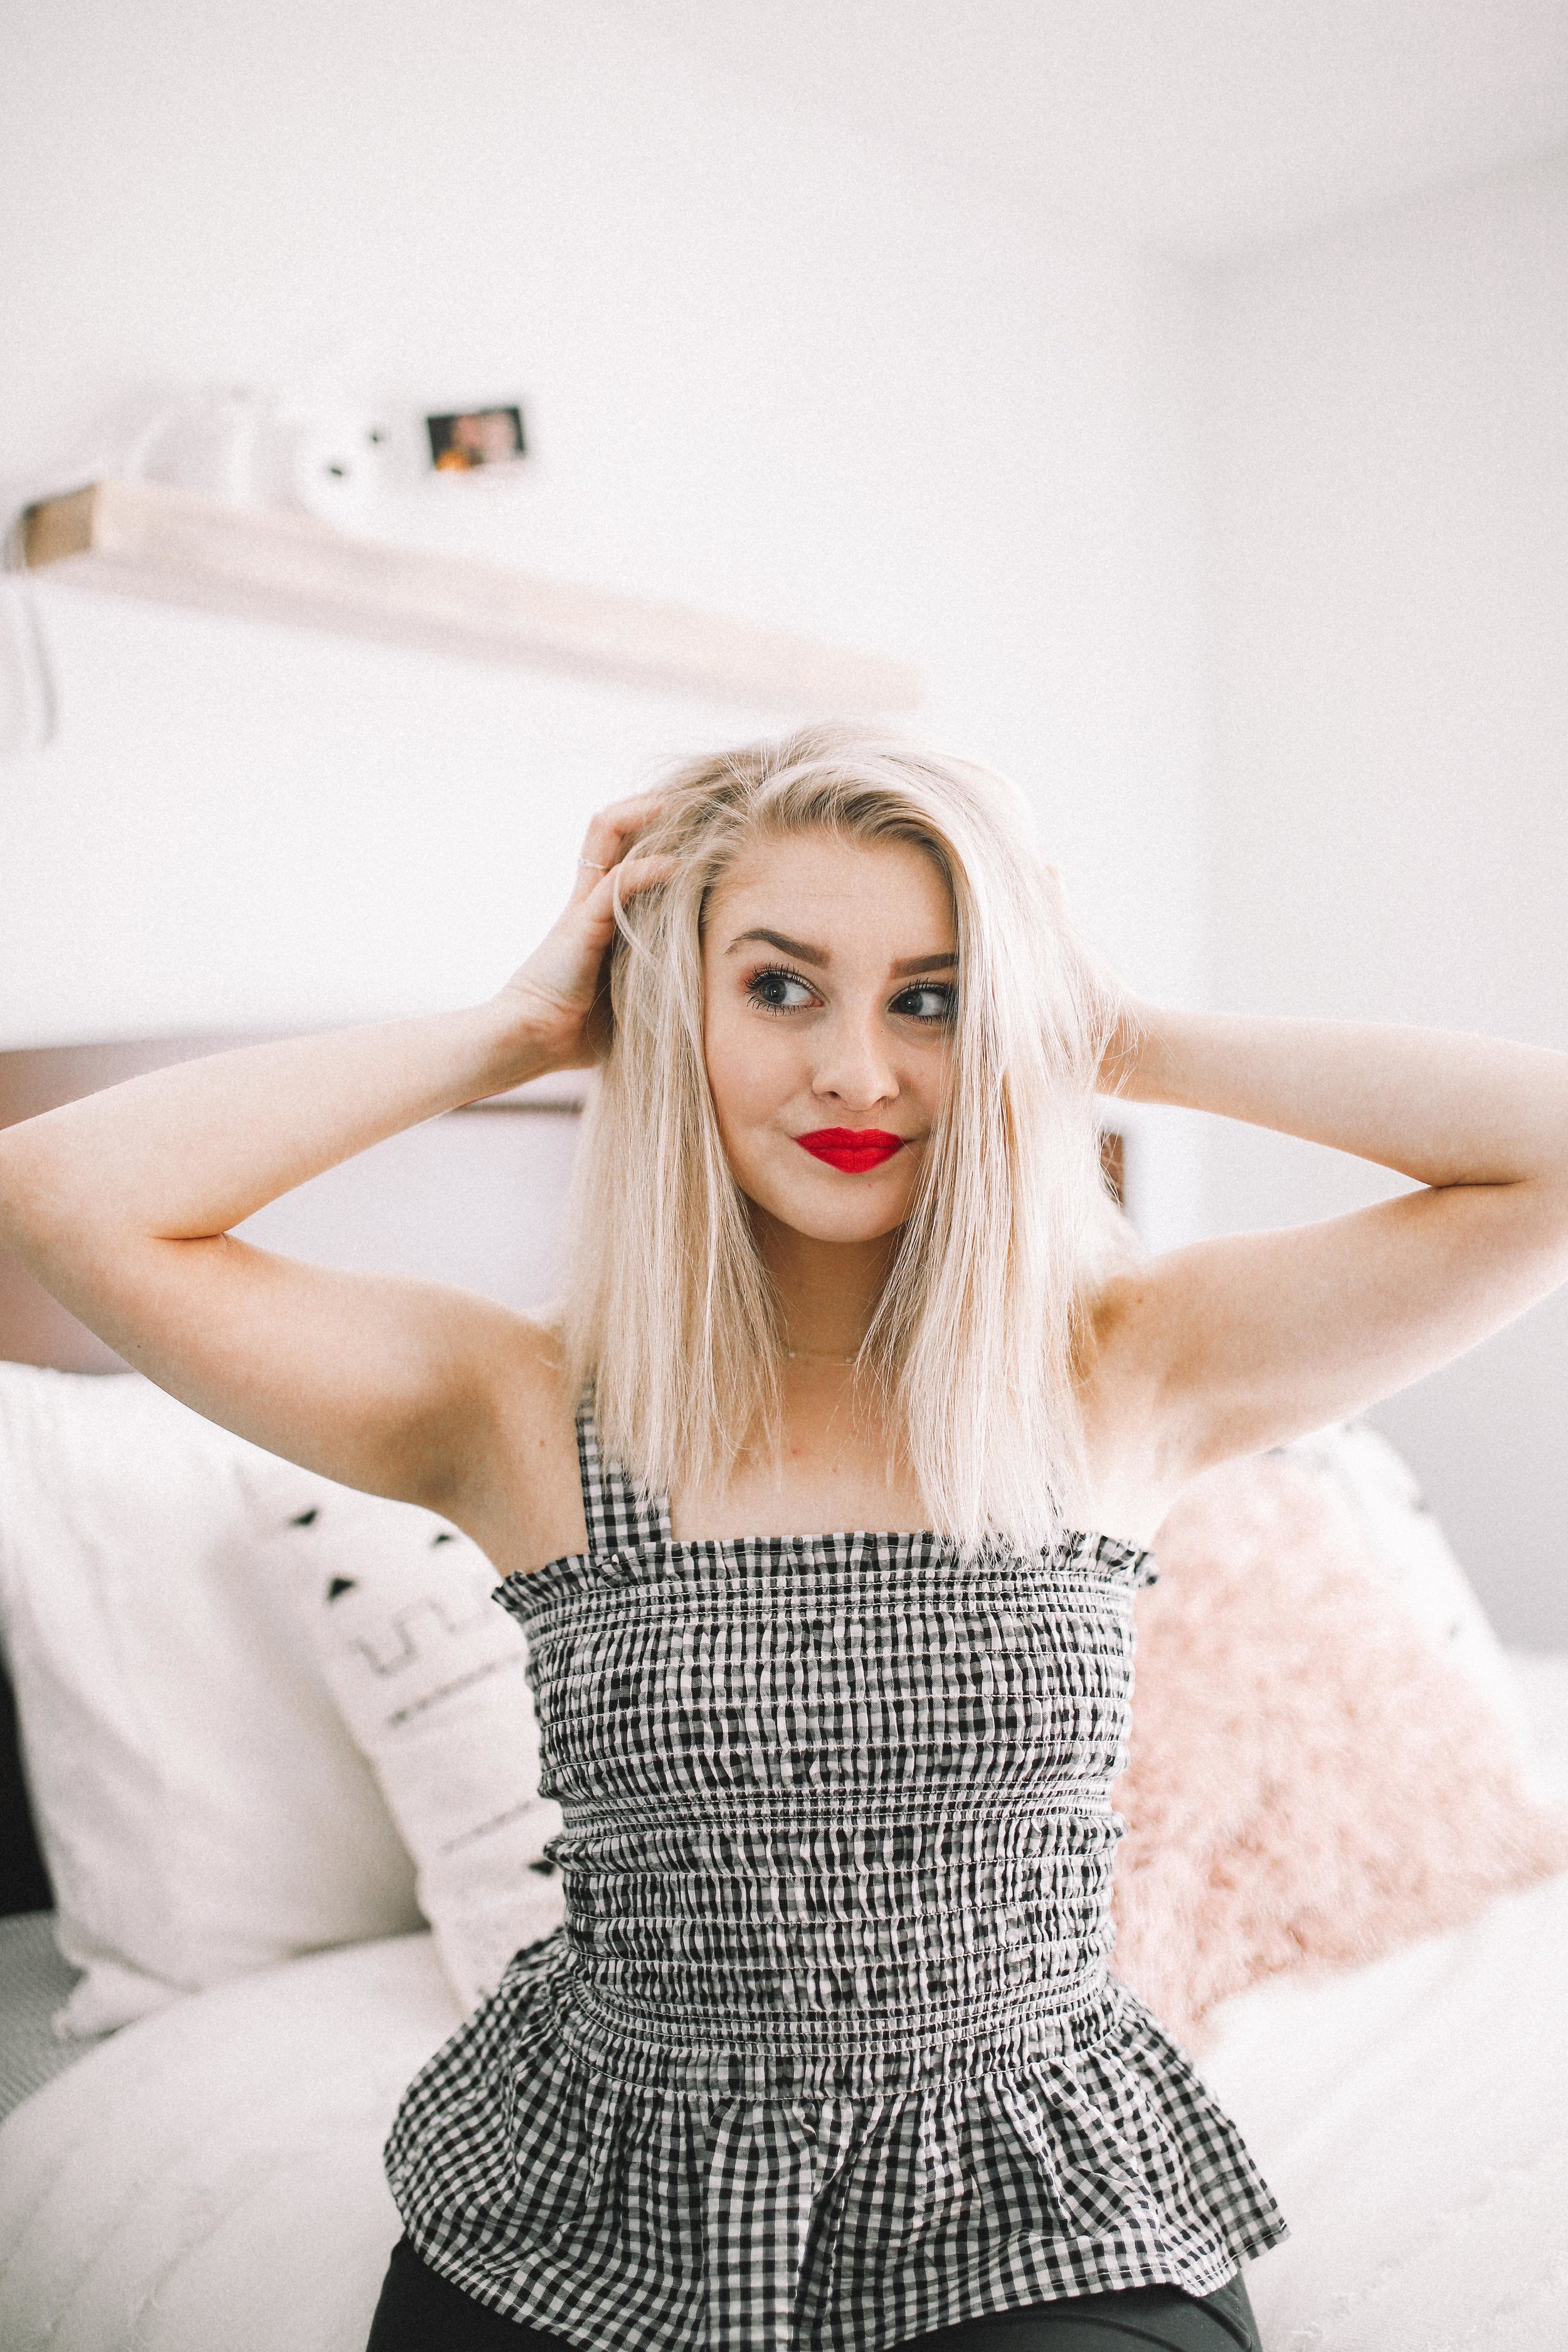
Step 02: After getting out of the shower, go through your typical routine including air or blow drying your hair. (I find that my hair takes to curl better when I blow it dry), then brush through!

Step 03: Grab a wand you have on hand (I will link the Bed Head Wand I use here) and start curling below!
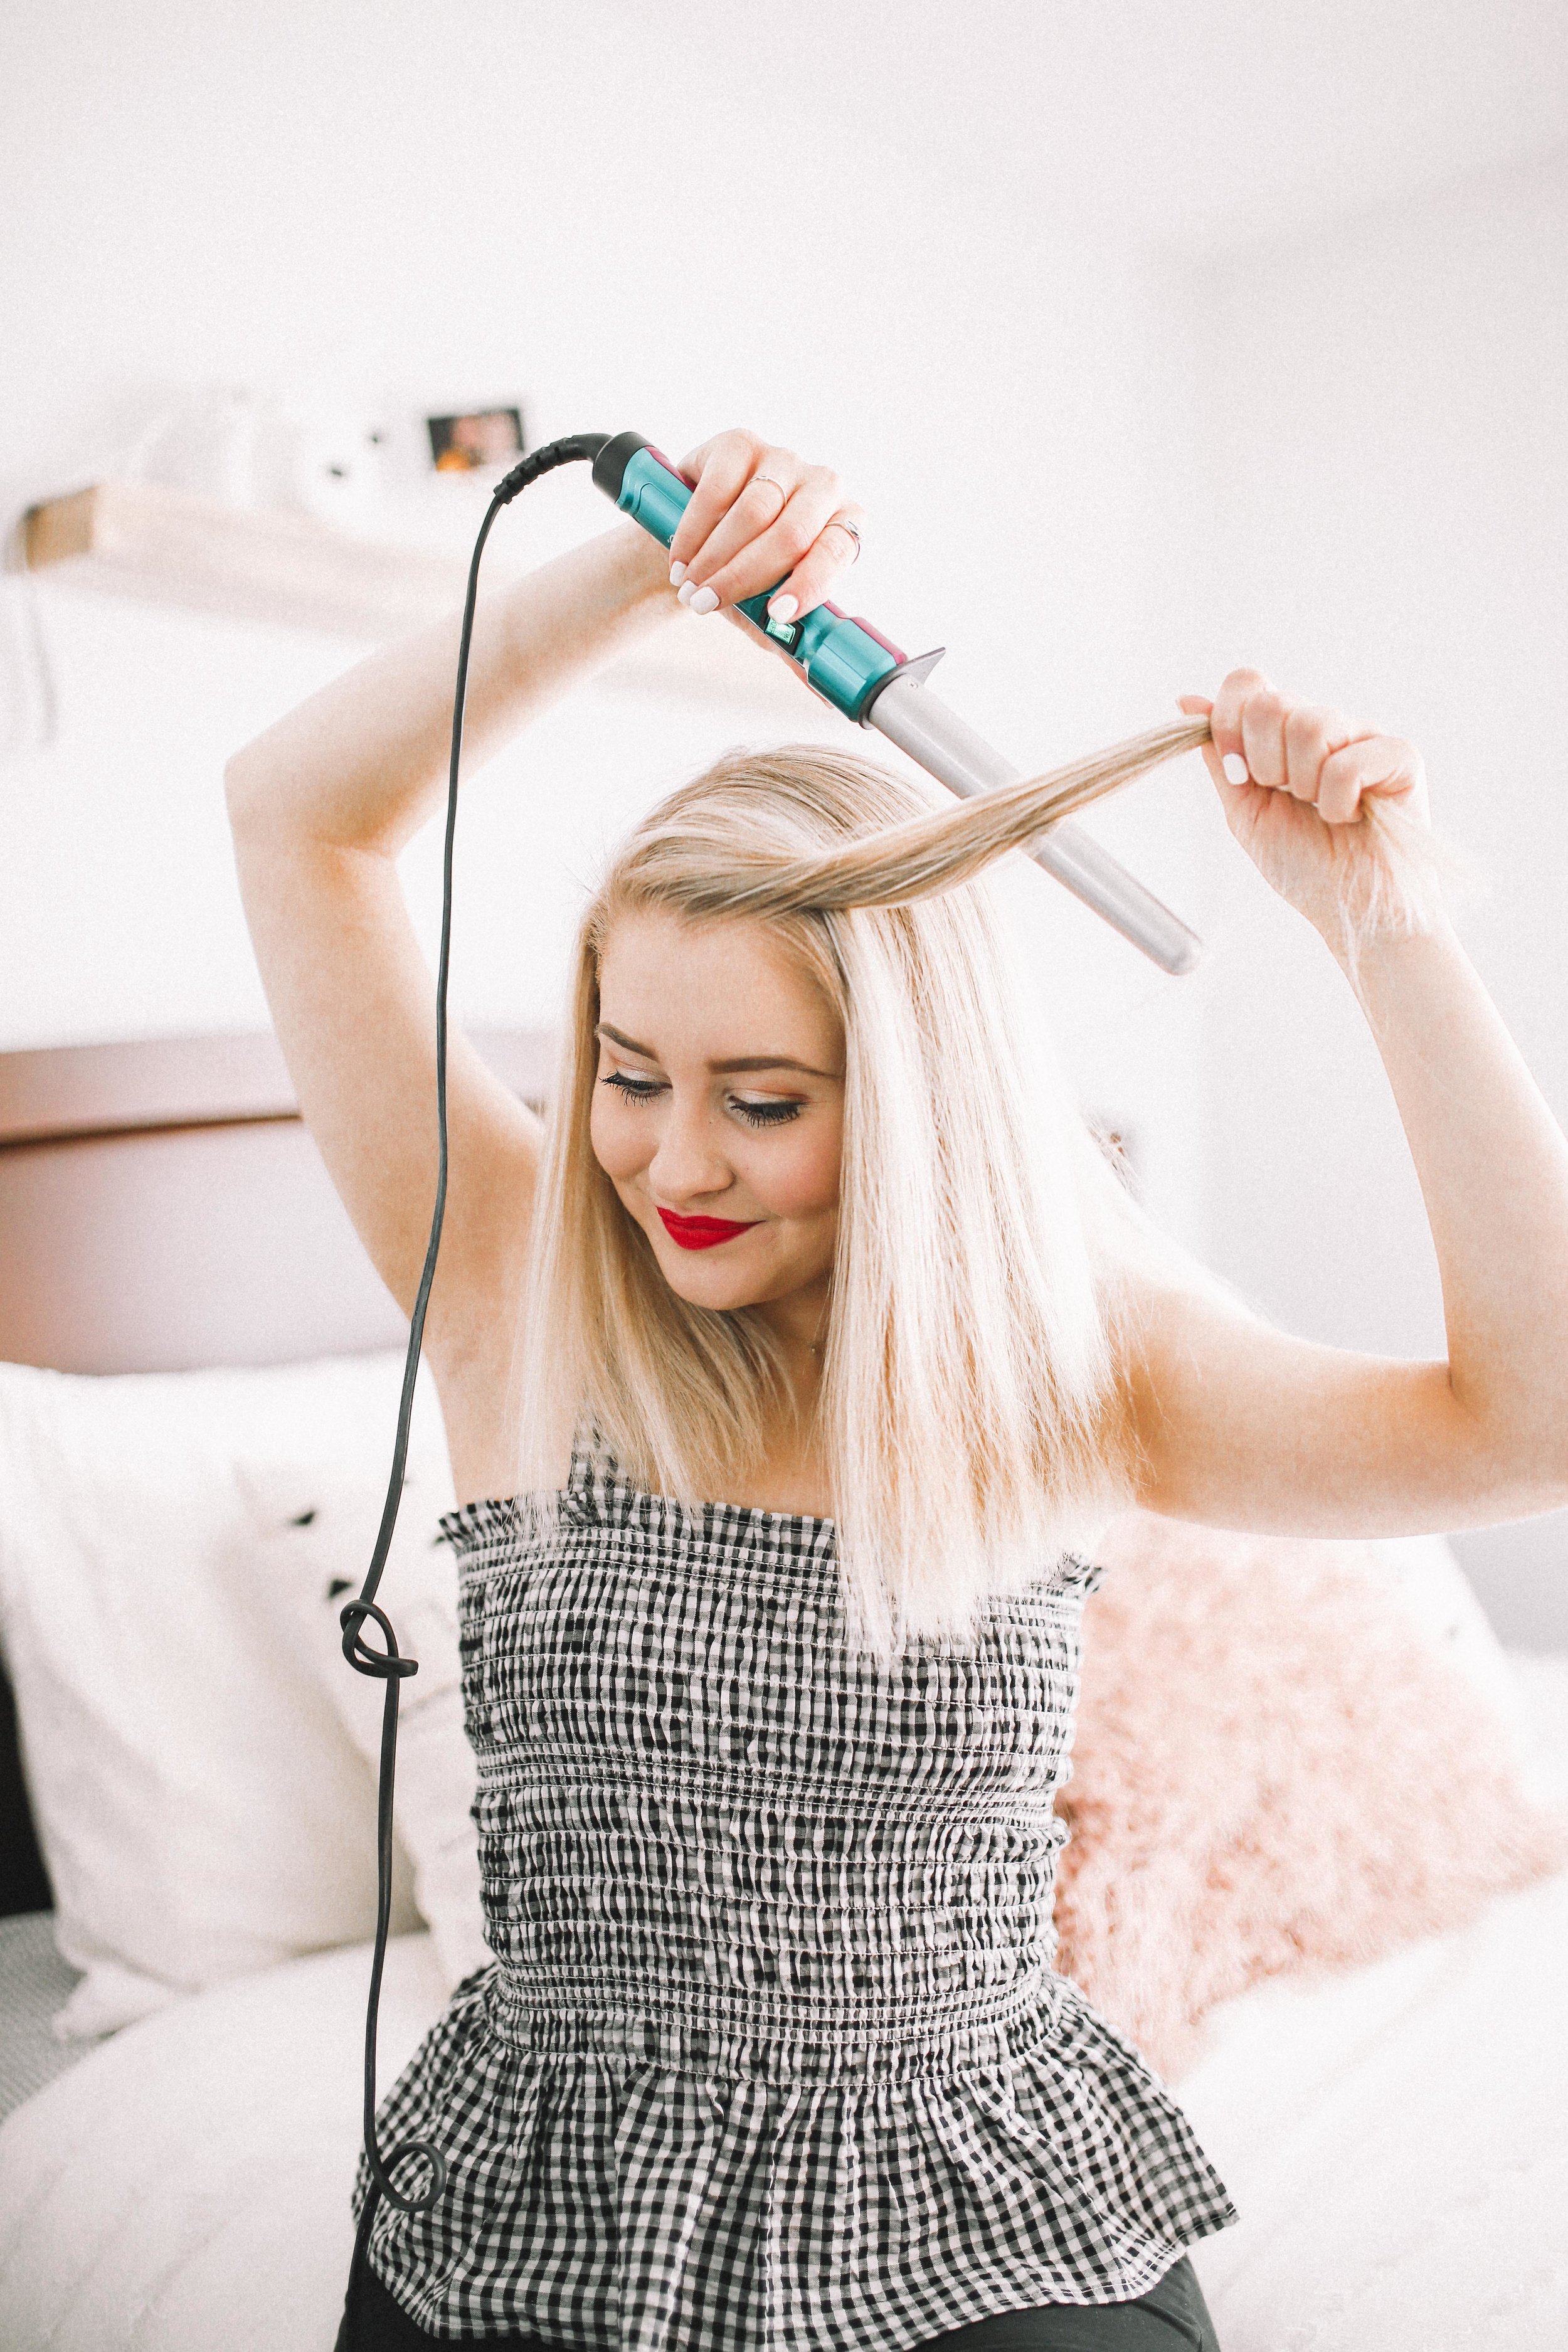
Step 04: To start off your curls take about a 1 inch thick second from the front of the left side of your head. Hold the wand in your right hand and piece of hair in your left.

Step 05: While holding the piece of hair, begin rolling it over the curling iron (going away from your face) all the way down, leaving about an inch out from the bottom!
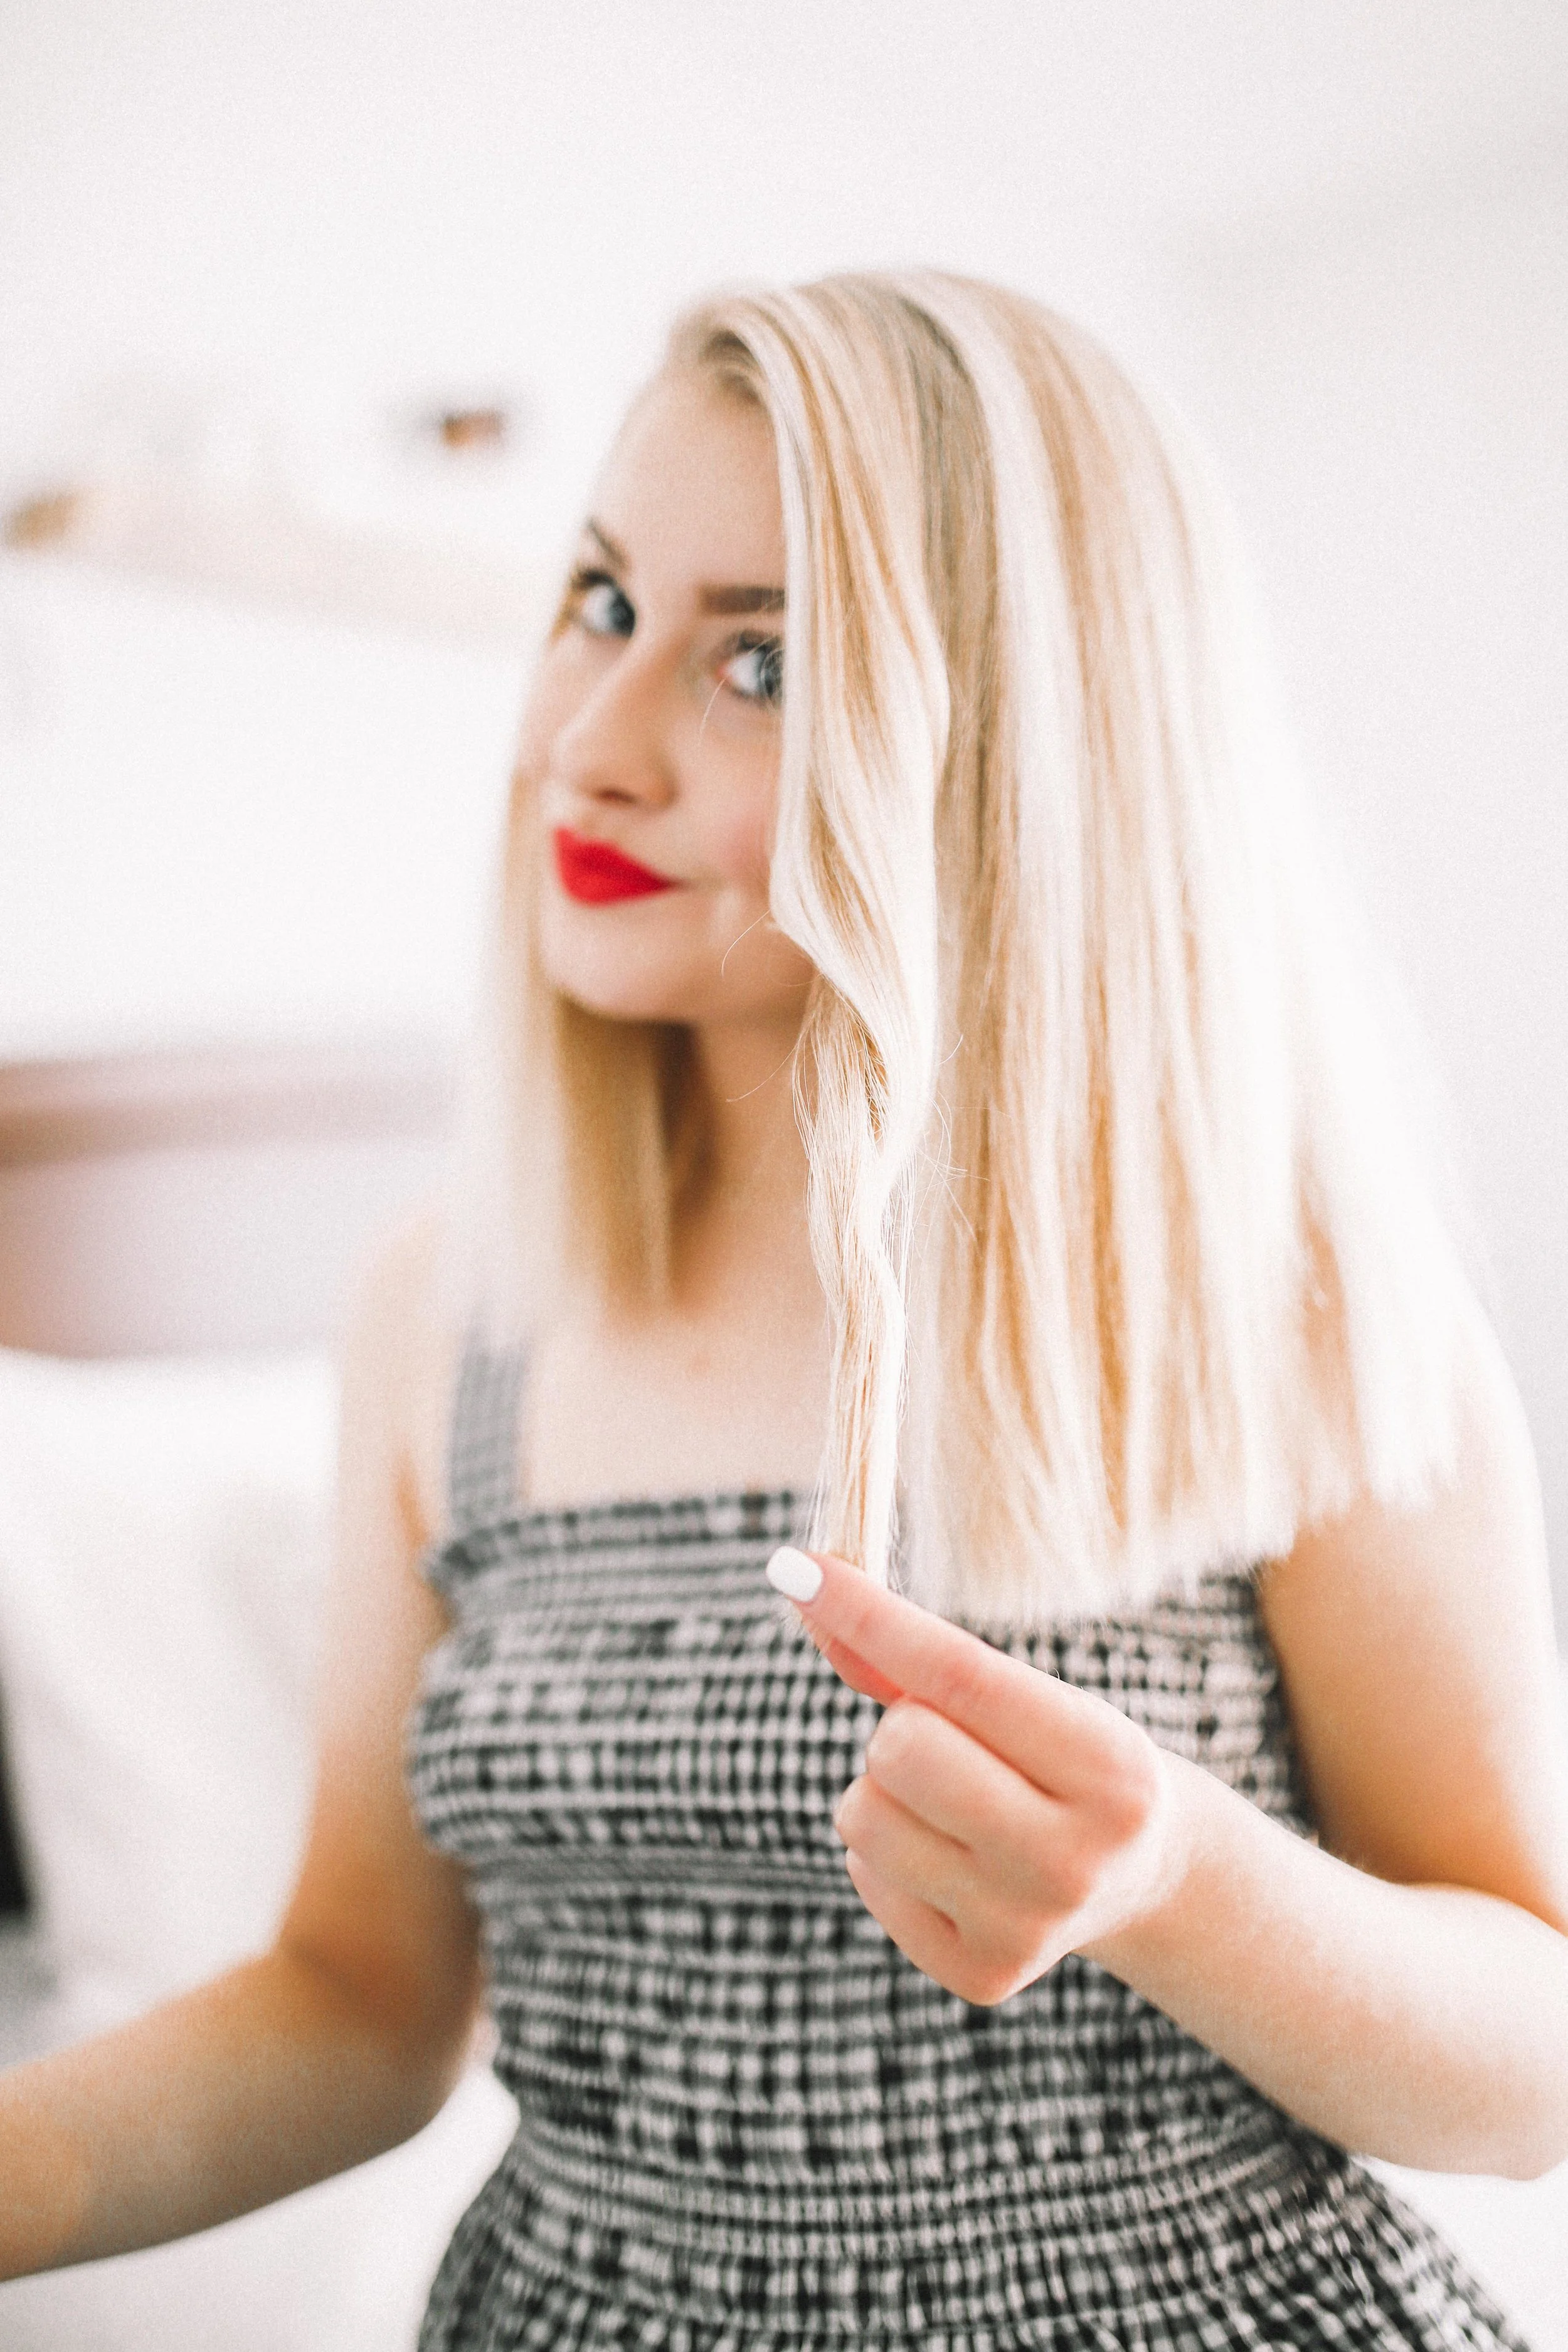
Step 06: Hold the hair on the iron for about 5-7 seconds, then releasing, pulling on the hair in a downward motion to loosen the warm curl just enough!

Step 07: Continue the curling motion from above over the entire left side of your head!

Step 08: Once you reach the back half of your head, switch to the right side of your hair.

Step 09: To curl this side, switch hands (the wand now goes in your left hand and you hold the hair pieces in your right!) Continue this until you have curled all of your hair!

Step 10: I like to use my hand-mirror (one under $20 linked here) to see if there are any spots in the back of my head that I have missed.

Step 11: Once you have curled all of your hair (and checked) run your fingers through all of your hair breaking the curls and loosening them up!

Step 12: Congratulations! You have successfully finished curling your hair! (This was essentially a short version of my Goldilocks curls tutorial from my Top 4 Hairstyles Guide!)
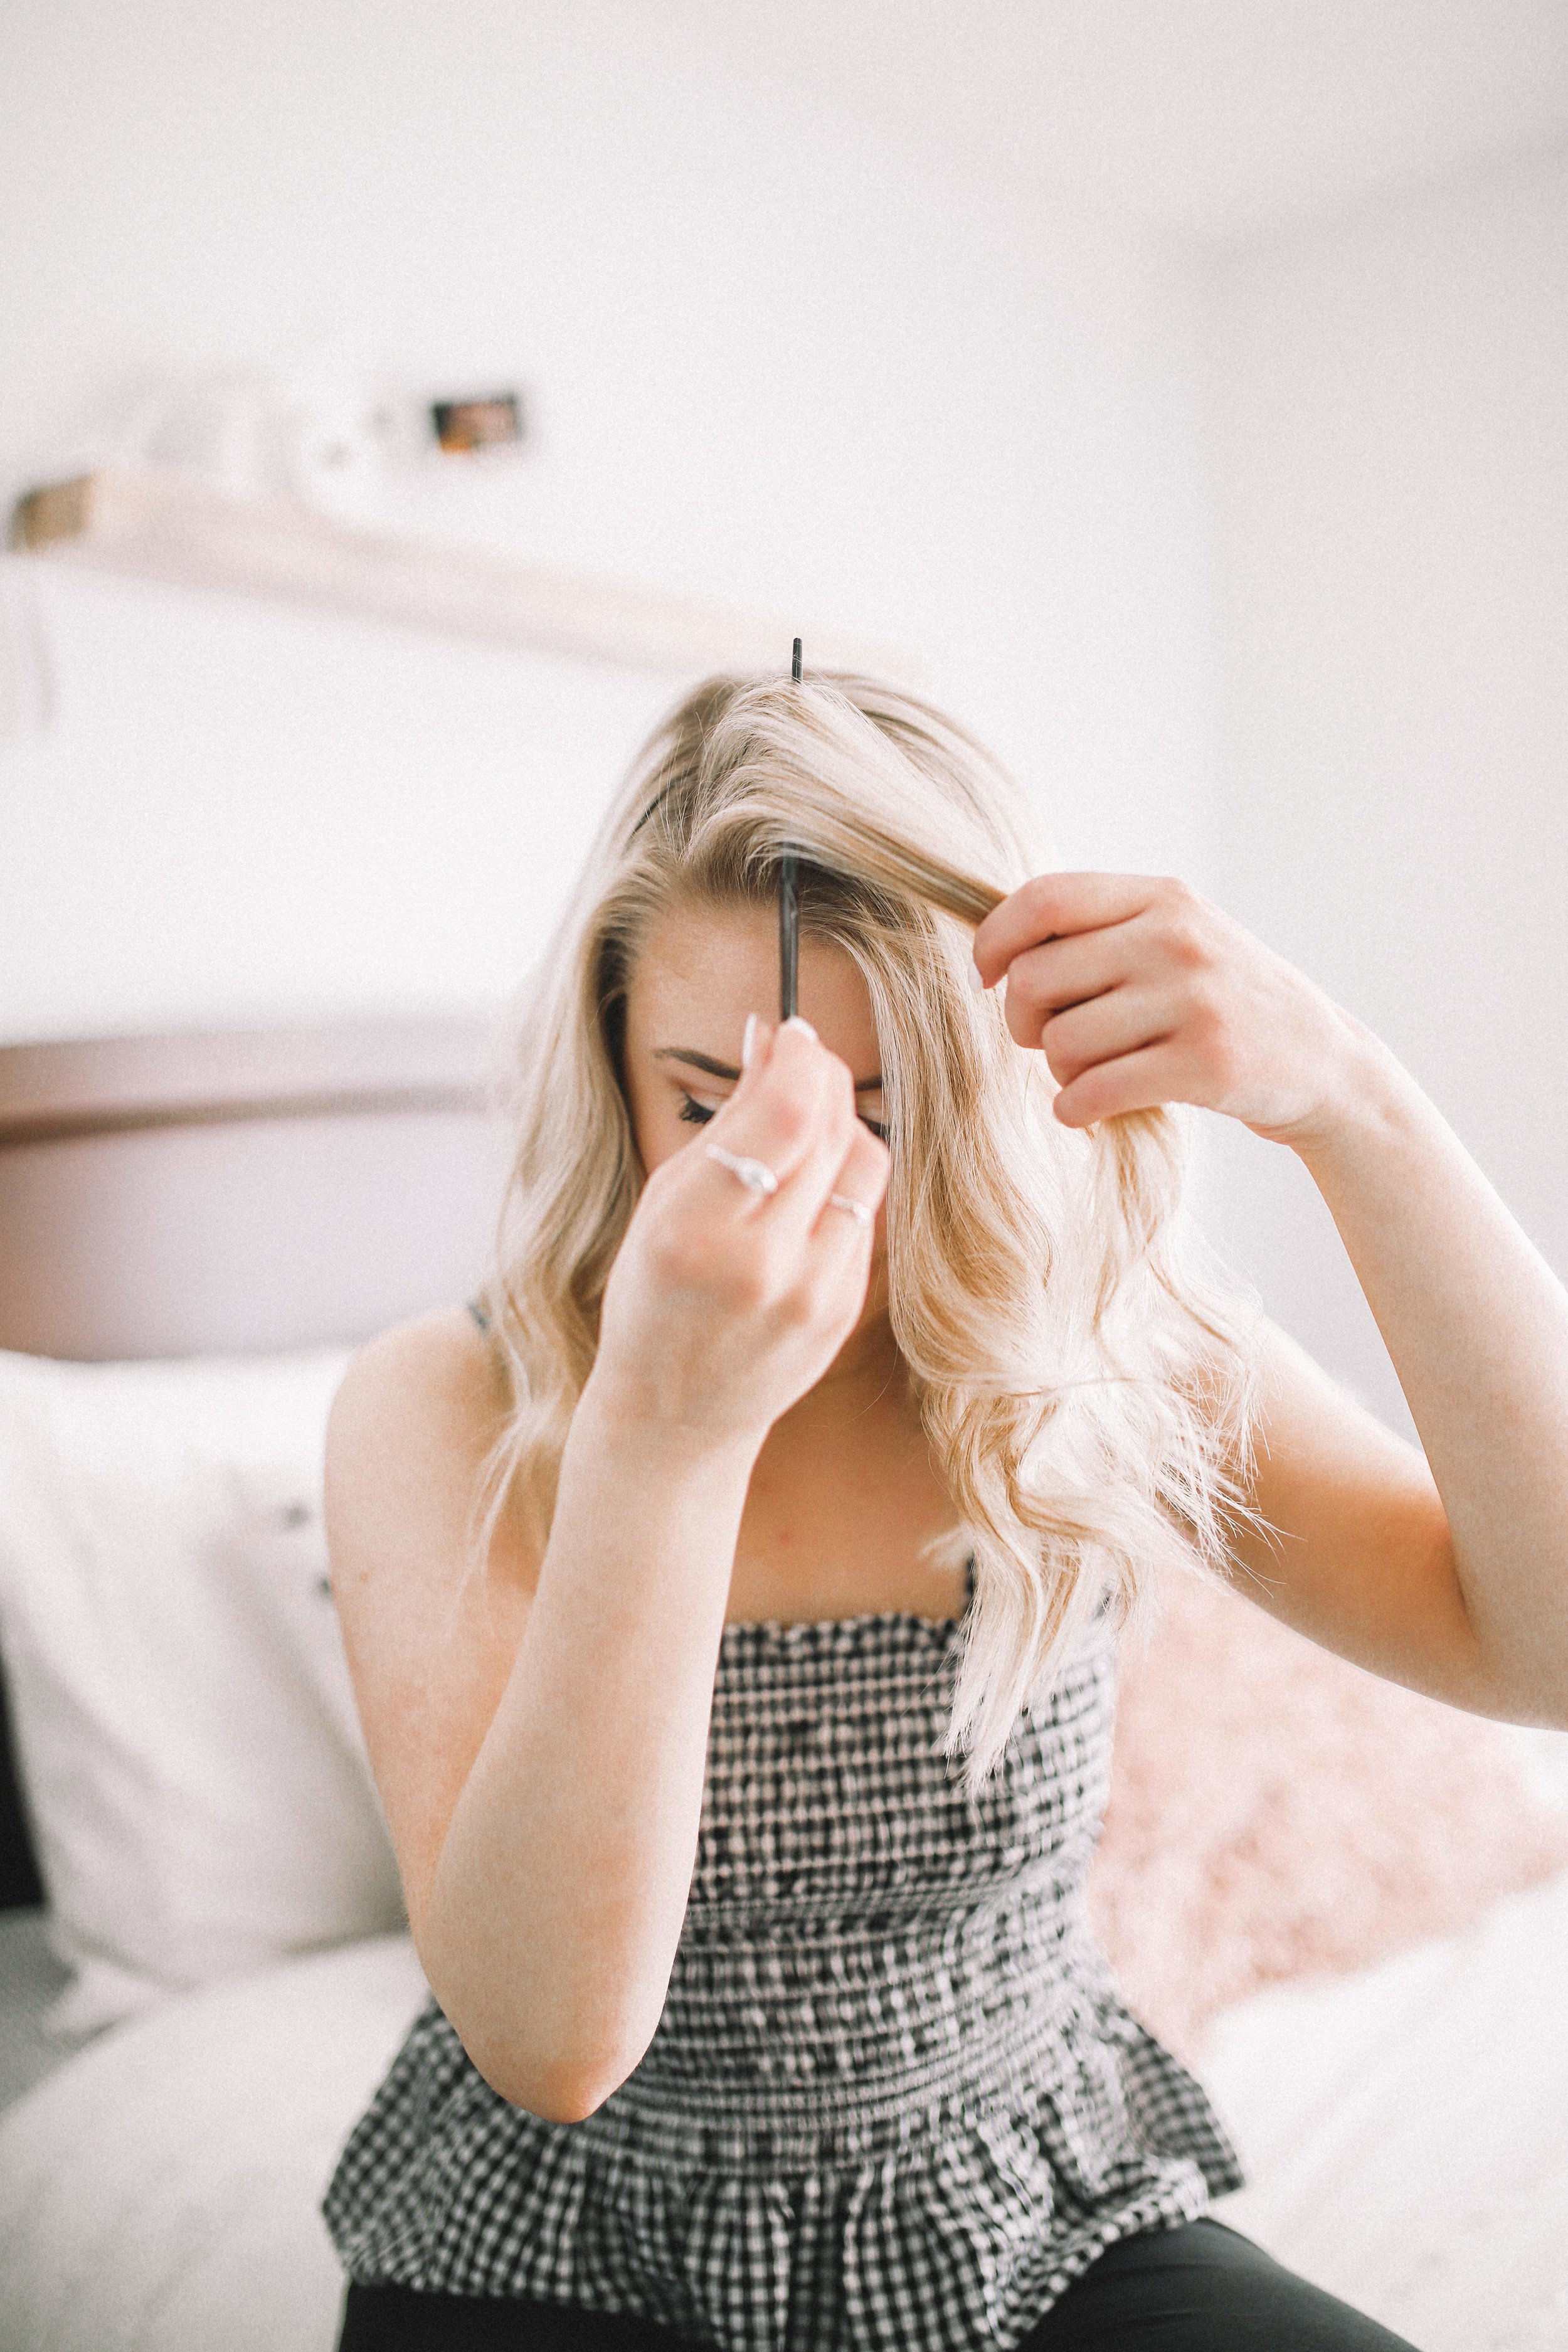
Step 13: Now let's start that braid! Begin by taking a fine tooth comb and creating a center part!
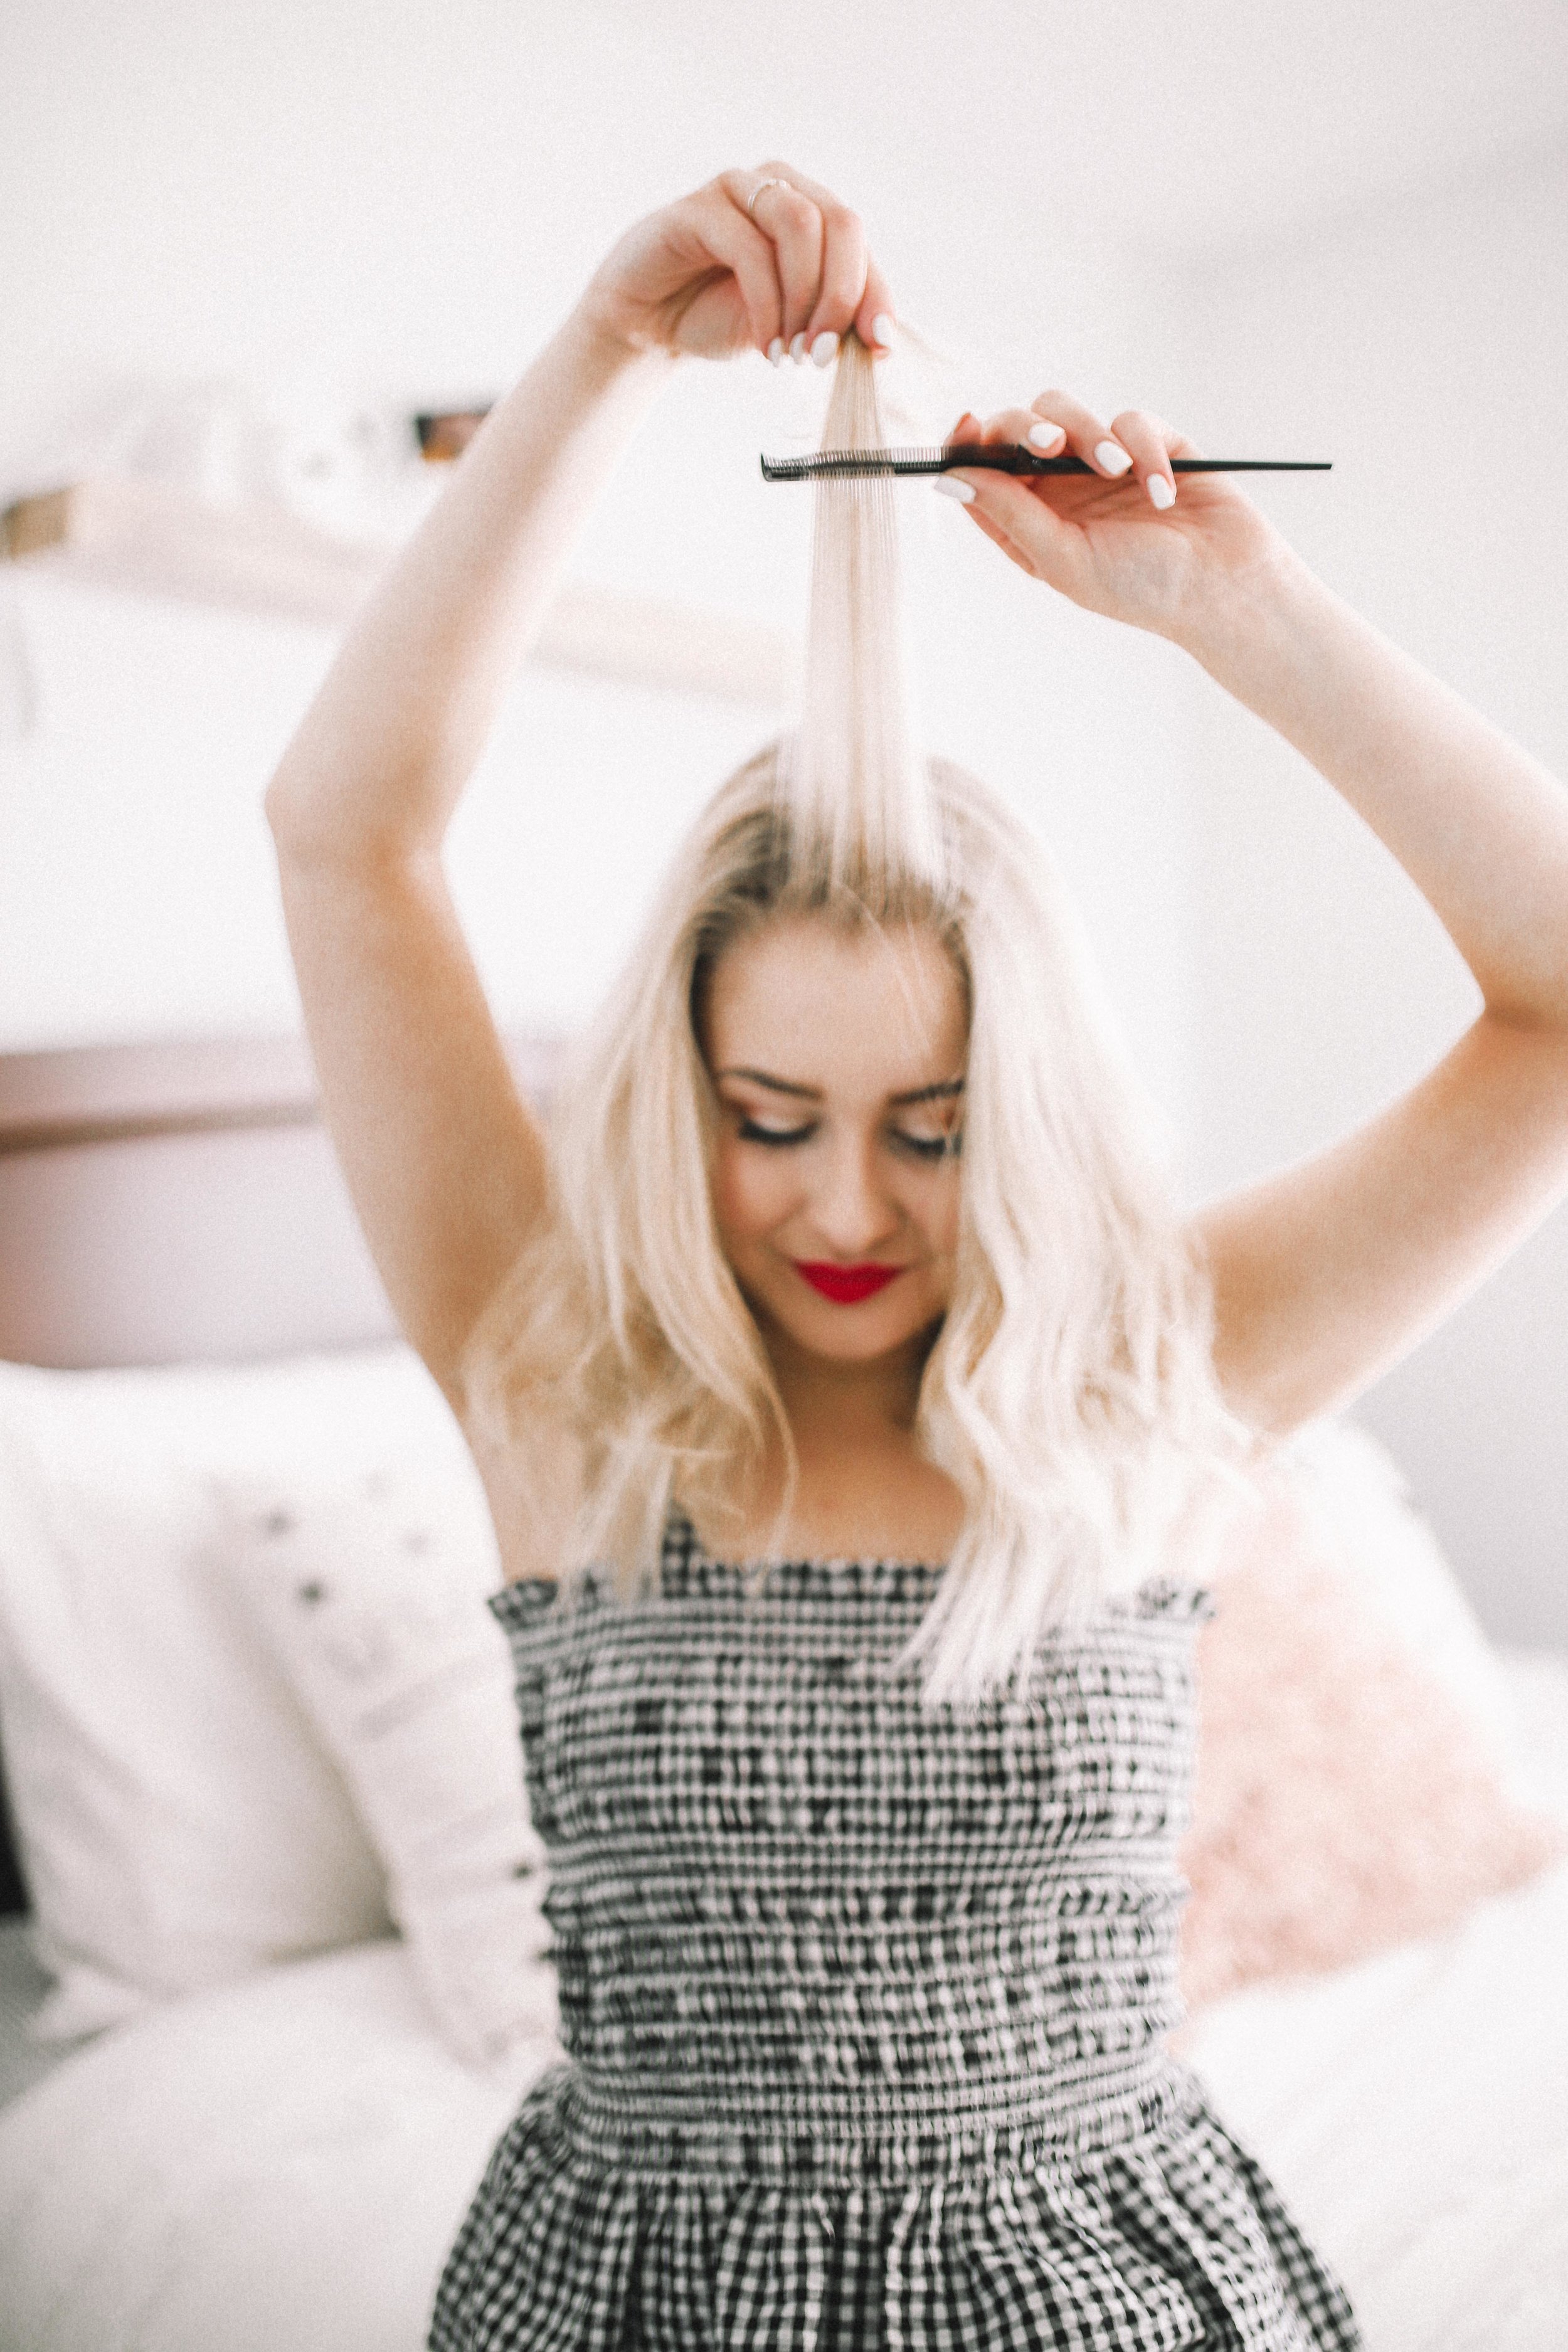
Step 14: Take a small section from the crown of your head beginning from the center part and comb it out (this is what will be used to start your braid!)

Step 15: This is a super easy way I learned to get 3 equal sections for ANY braid you are trying to. Make a peace sign and push it through the section of hair. BOOM! 3 sections to start the braid!

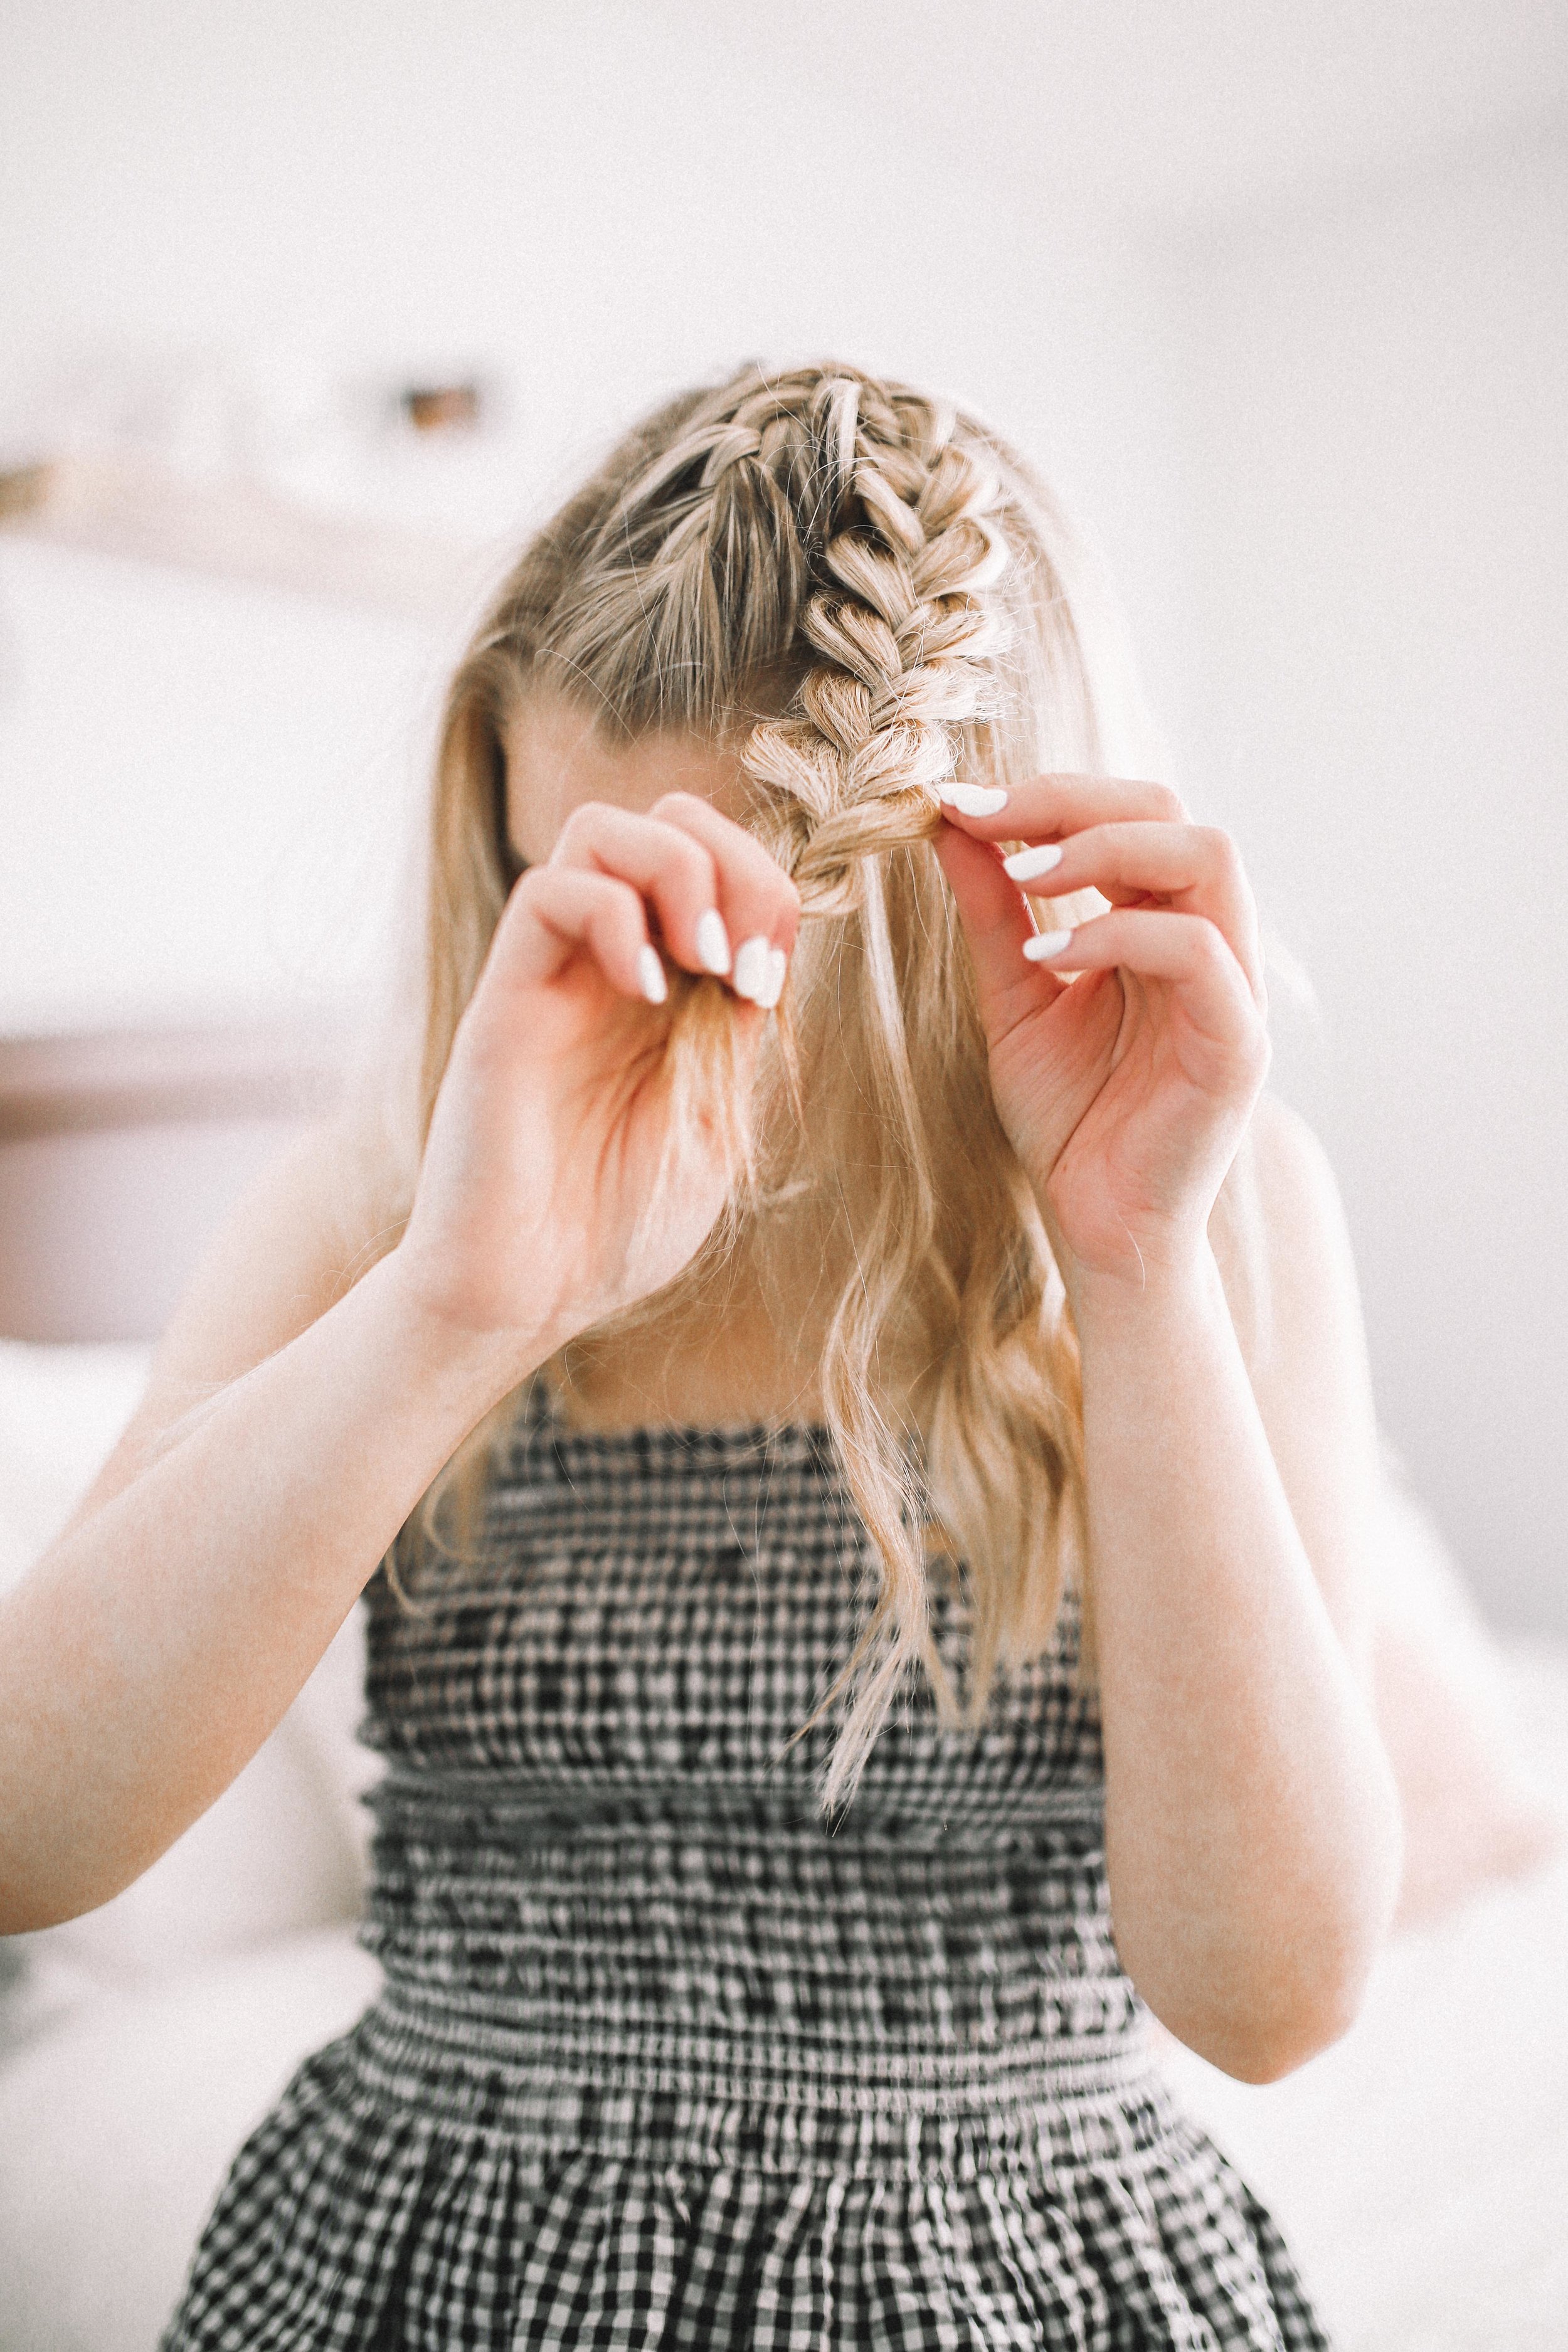
Step 16: Start french-braiding your hair down the center of your head. Pick up sections directly behind one another on either side (you can also use your comb here to make a PERFECT line of hair to grab from)

Step 17: Continue french-braiding until you reach the back of your head, continuing to pick up sections on either side!

Step 18: Once you reach the back of your head, stop grabbing pieces and braid the rest of your hair in a normal braid (not picking up any additional hair!)

Step 19: Once you're done braiding off the hair, starting from the bottom working your way up - begin pancaking the sections one at a time. This is essentially slowly working them out by pulling (gently!) making the braid look bigger + thinner!
Step 20: Pancake each section until you reach the top where you finished off your french braid, I chose to not pancake the french, but you can!

Step 21: Tie off your braid with a clear elastic. My favorite pack of cheap, clear elastics is linked here!

Step 22: Ensure your braid/elastic is holding any extra hair and stands alone and get your curls in place!

Step 23: Finish off your hairstyle with a good hairspray! Today I am using Pantene's Alcohol Free Airspray and it smells AMAZING!
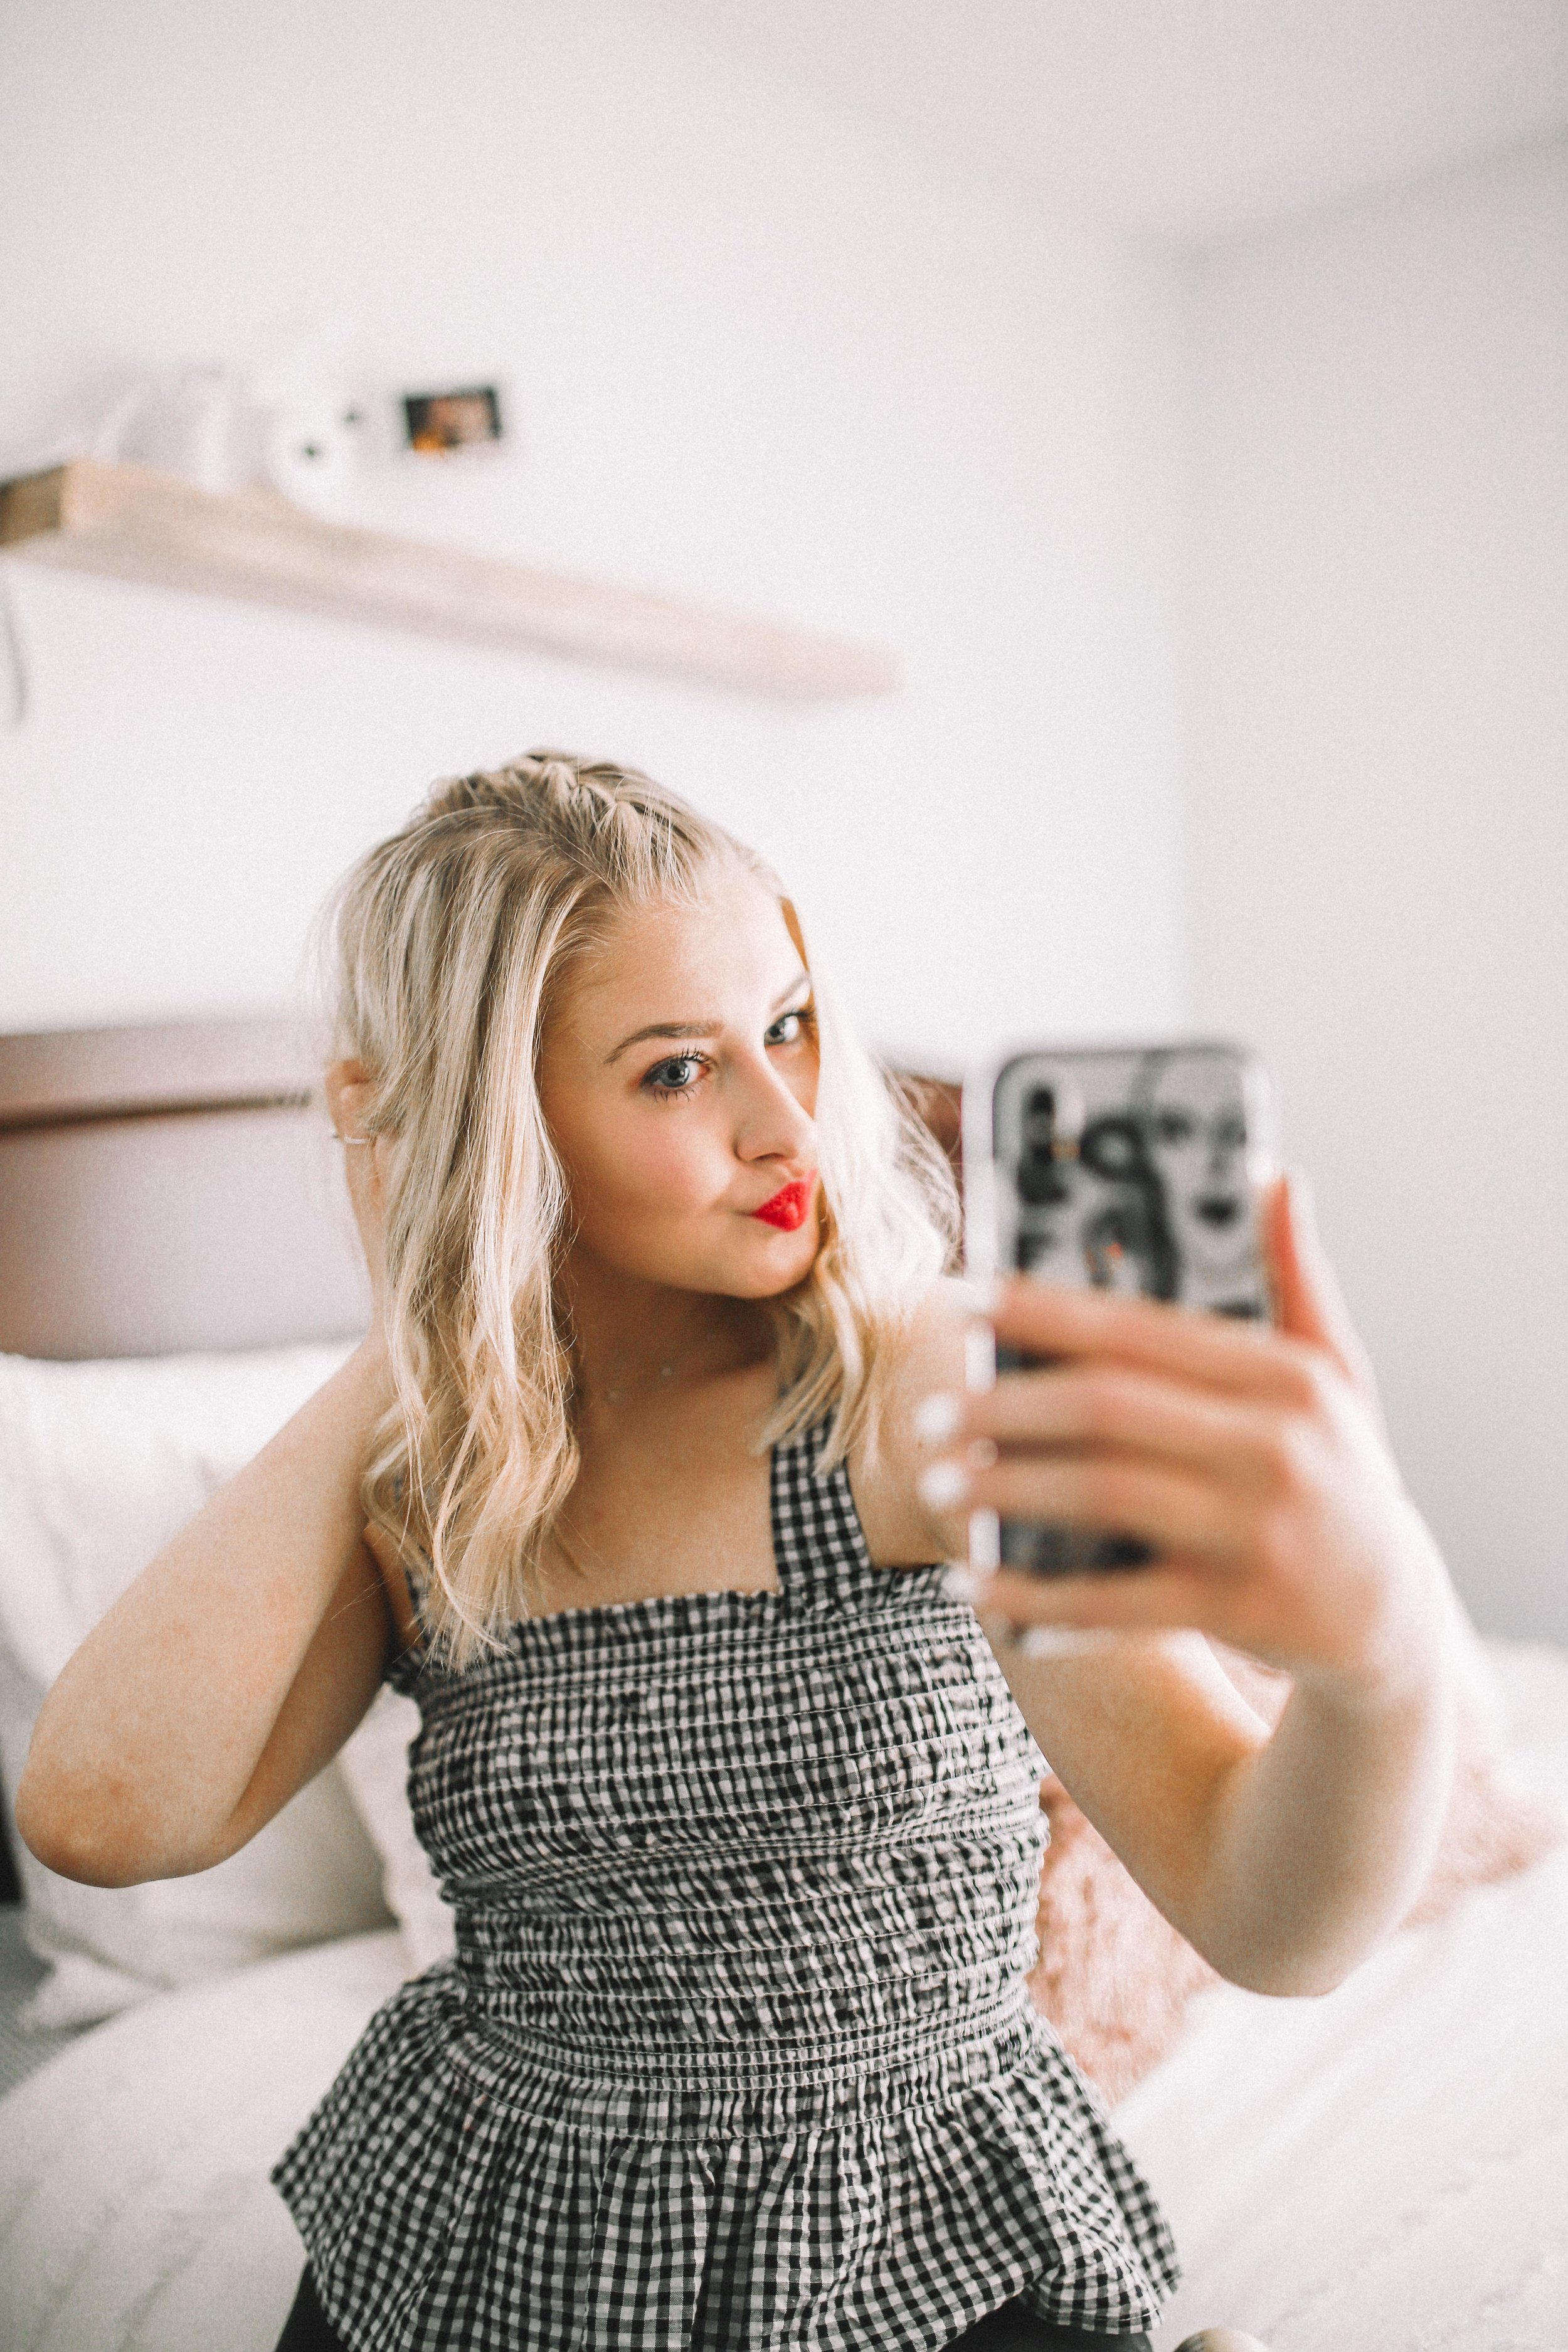
Step 24: Take a selfie and tag it with #MaddyCorbinBeauty to show off your perfect Part Party! Be sure to tag @Pantene #PanteneFoam if you use their products so they can see it too!
Step 25: Go out there and show off how good you lookin' babe!

SHOP THE POST ↓