
DIY: Ultimate Fortnite
DIY! I am so pumped to be taking a new twist to the way I share content here on MaddyCorbin.com, but first things first. We have to start up this new section called: D I Y aka Do It Yourself. For the longest time growing up I remember being obsessed with crafts, Pinterest diys, and making things by hand. After a lot of thinking about what I wanted to share next, I knew I had to get a little more hands on. I will be sharing some fun at home projects that you all can do with me! I'll include everything you'll need, the necessary steps and how to create your own versions! Then you can share your creation with me using: #MaddyCorbinDIY! Project 01: The Ultimate Fortnite!
The Ultimate Fortnite
We are heading into fall. The weather is about to get cooler and staying in for a cozy night starts sounding better and better. Maybe it's a date night that needs that extra pop of fun or a GNI (girls night in) - building an adult fort is the perfect go-to! I mean we all used to make them as kids right? Well, let's take it to the next level! We built ours featuring a large tv (Netflix), an xbox, lots of room and plenty of space to add MORE blankets. Follow the steps below to make your own and then share it with me! @maddy.corbin #MaddyCorbinDIY


PART 01: WHAT YOU WILL NEED
FOR THE FORT!
• COZY SOCKS
• As many blankets you can find
• Options: rugs, sheets, duvets, cloth shower curtain
• Large pillows for structure, small for decoration
• Fairy-fly and string lights (as many as you can find)
• TV and/or Xbox
• Giftwrapping roll or similar for structure
• Some books
• A couple chairs
• Jute string
• A tupperware container or similar
• & Lots of clothespins
FOR THE SNACKS!
• Chocolate milk
(I use Simple Truth Chocolate Almond Milk)
• Hersheys Chocolate Syrup
• 2 mugs
• Popcorn
• A bowl
• Anything else you want to munch on!
PART 02: THE STEP-BY-STEP
STEP 01:
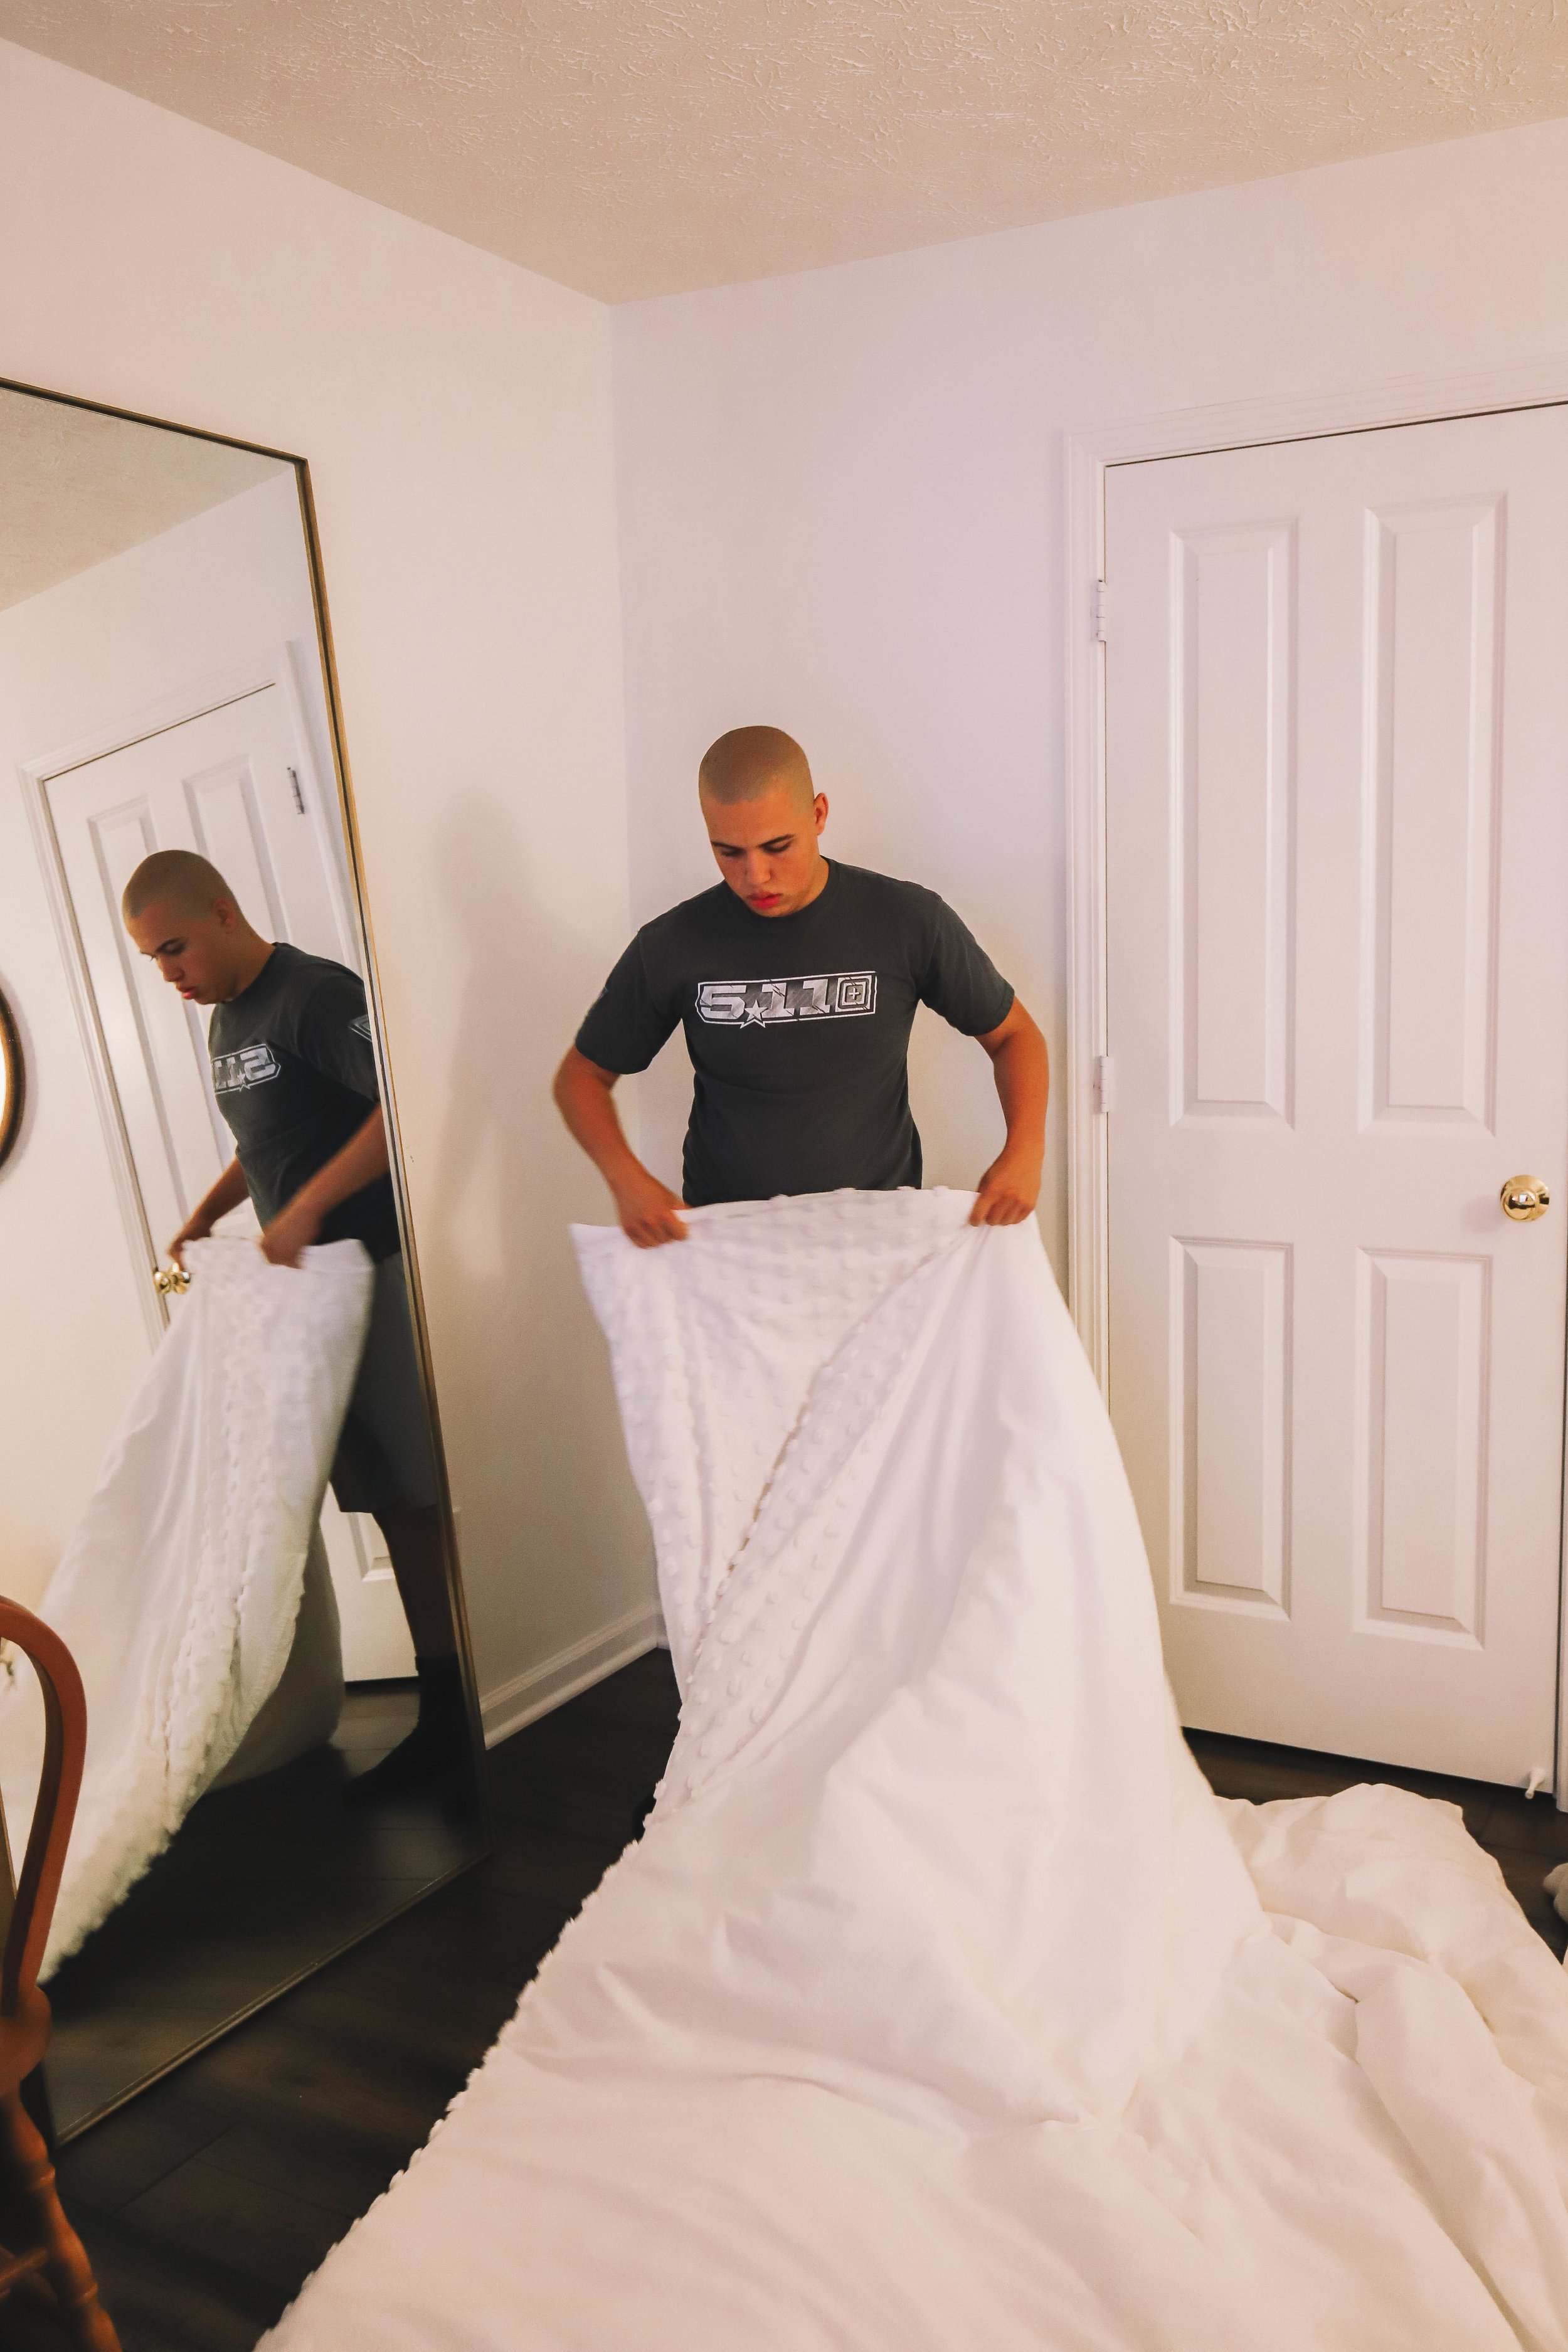
Gather all of your supplies: specifically the blankets, sheets, duvets, cotton shower curtains and pillows. Have your snacks and lights put together and on stand by, they will be used in a bit!

Step 02:
Start by taking your largest and fluffiest blanket or duvet and lay it out where you want the base of your fort to be! We decided to do it towards a corner because we knew we wanted to add in a TV!
Step 03:
Start setting up your chairs and/or furniture around the outside perimeter. These are going to create the walls along with your extra blankets and sheets! (also you can add a cute puppy here too if you want)

Step 04:
Set up your entertainment. This was the first time we have ever added a TV or Xbox in the fort, and it was the best yet. We binge watched Handmaid's Tale afterwards. We put a full Tupperware container underneath the TV to hold it up at the perfect height, plugged the Xbox and TV into an extension cord and it was good to go!

Step 05:
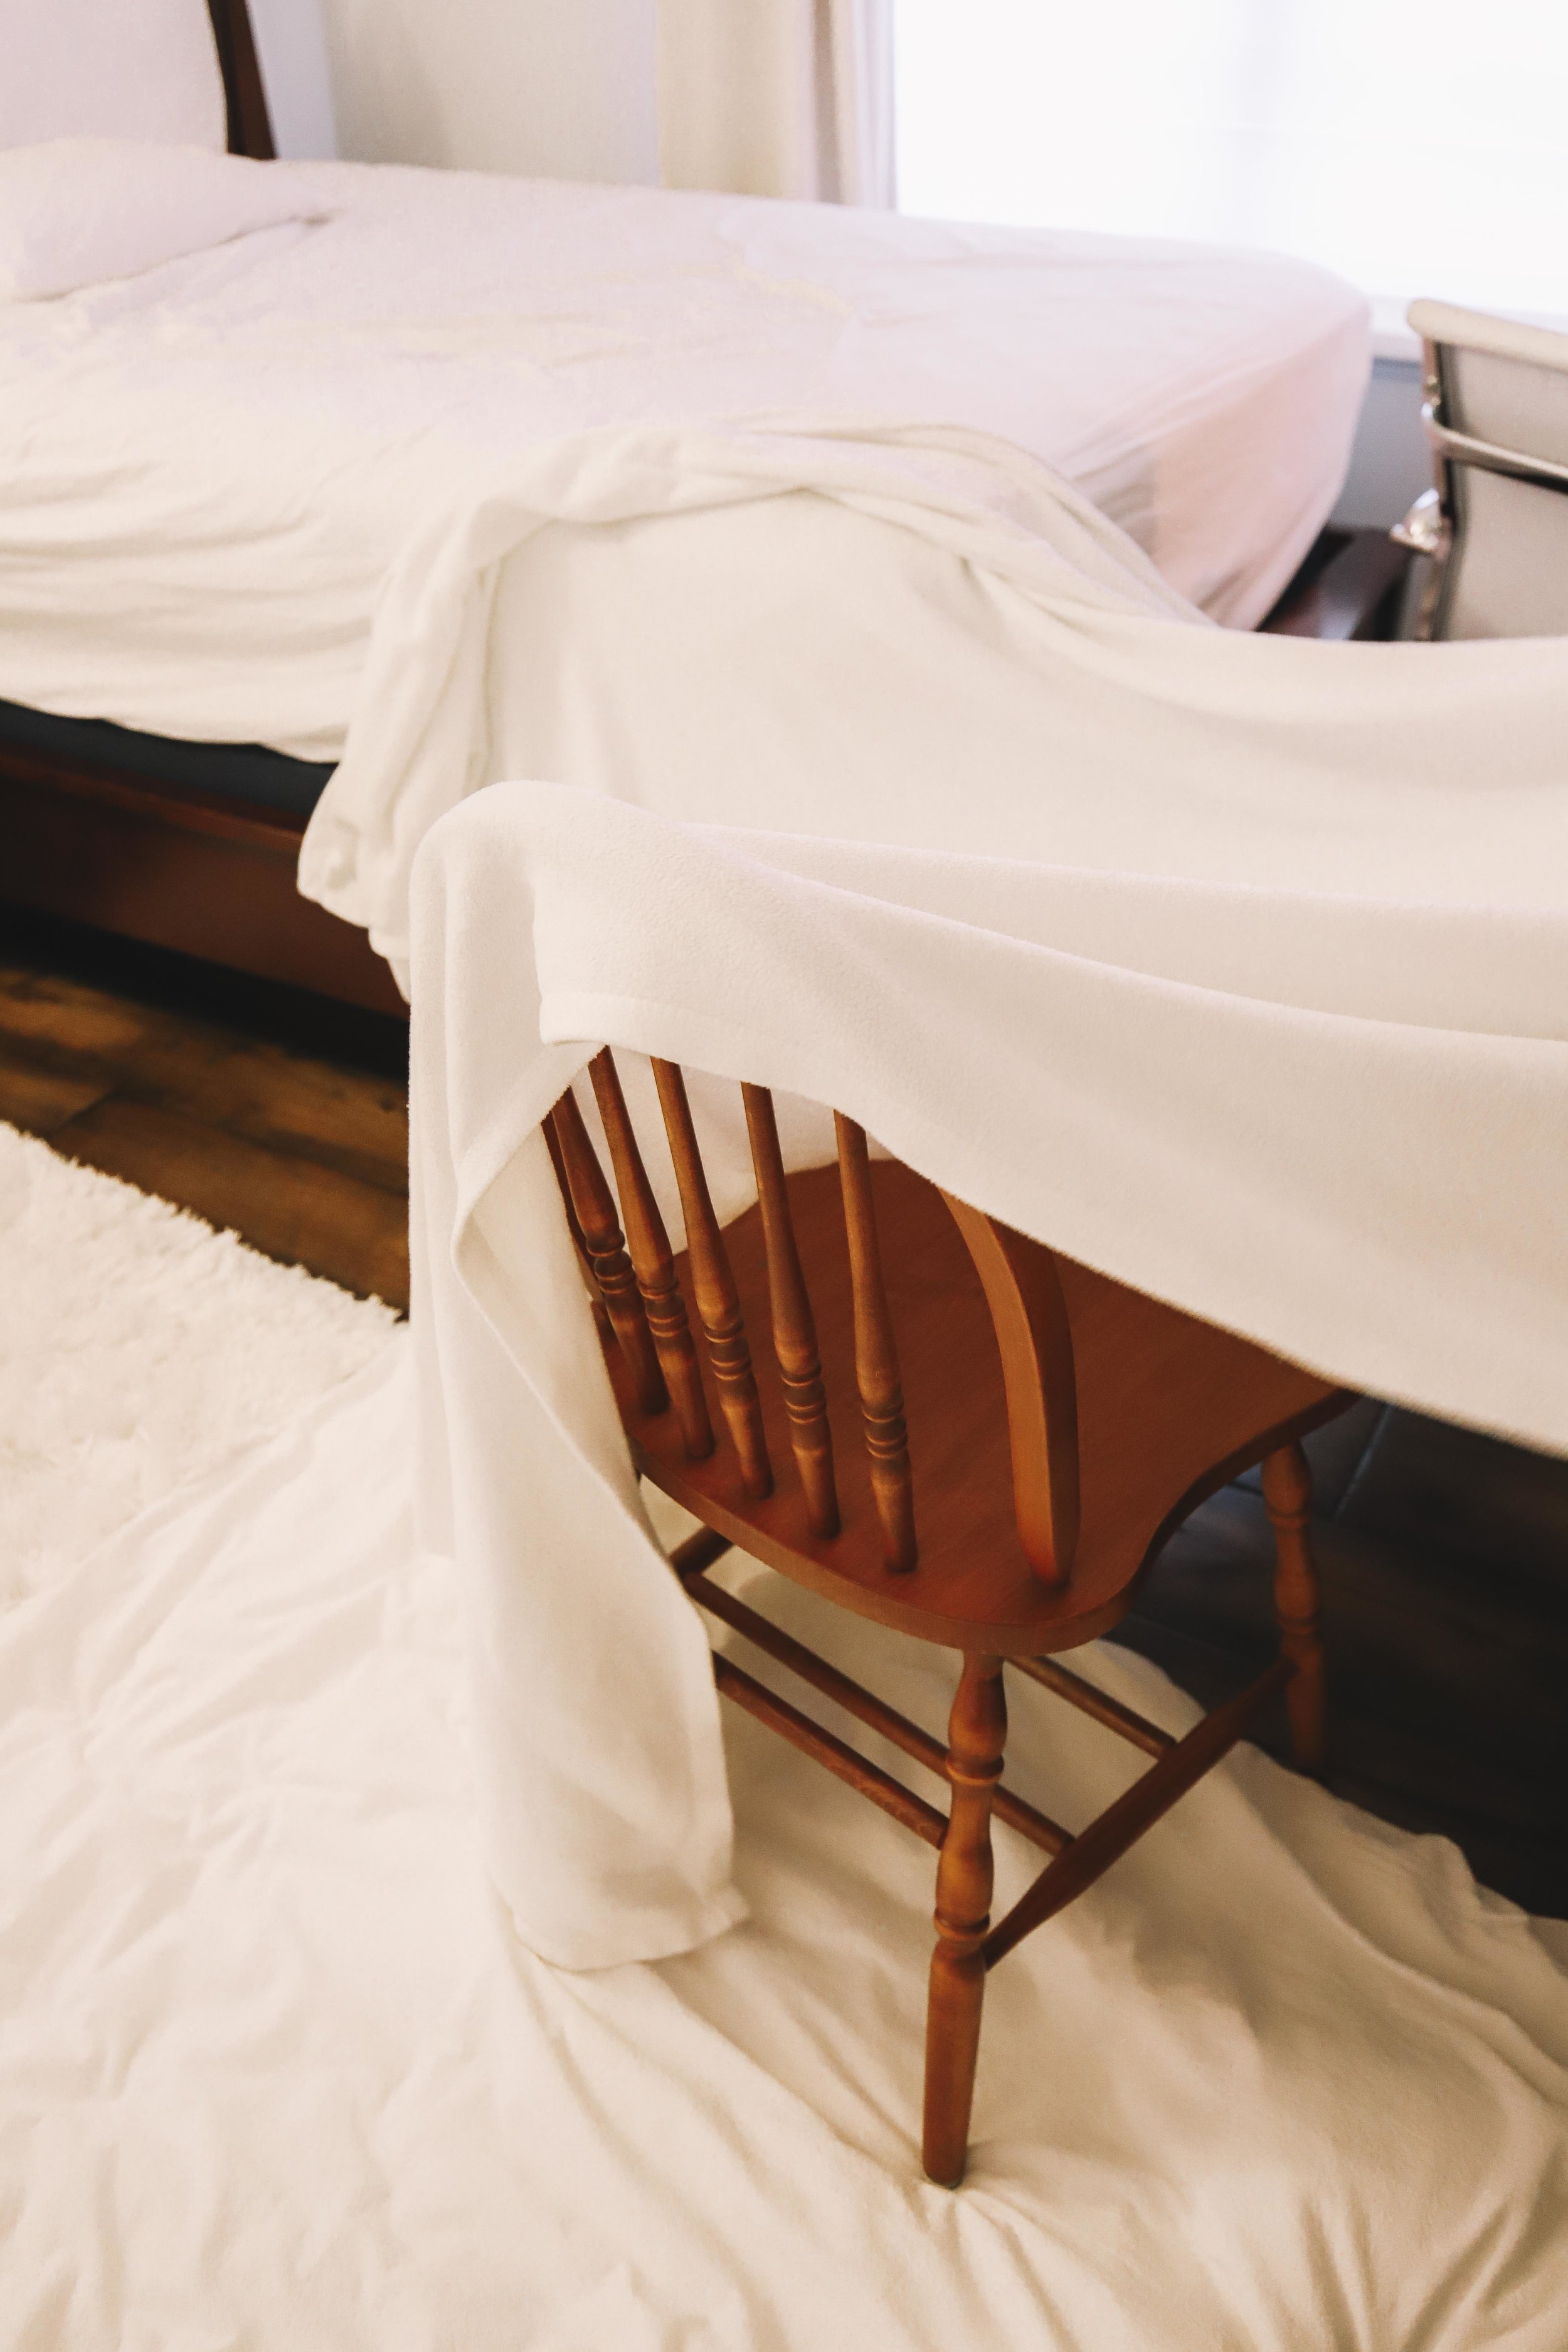
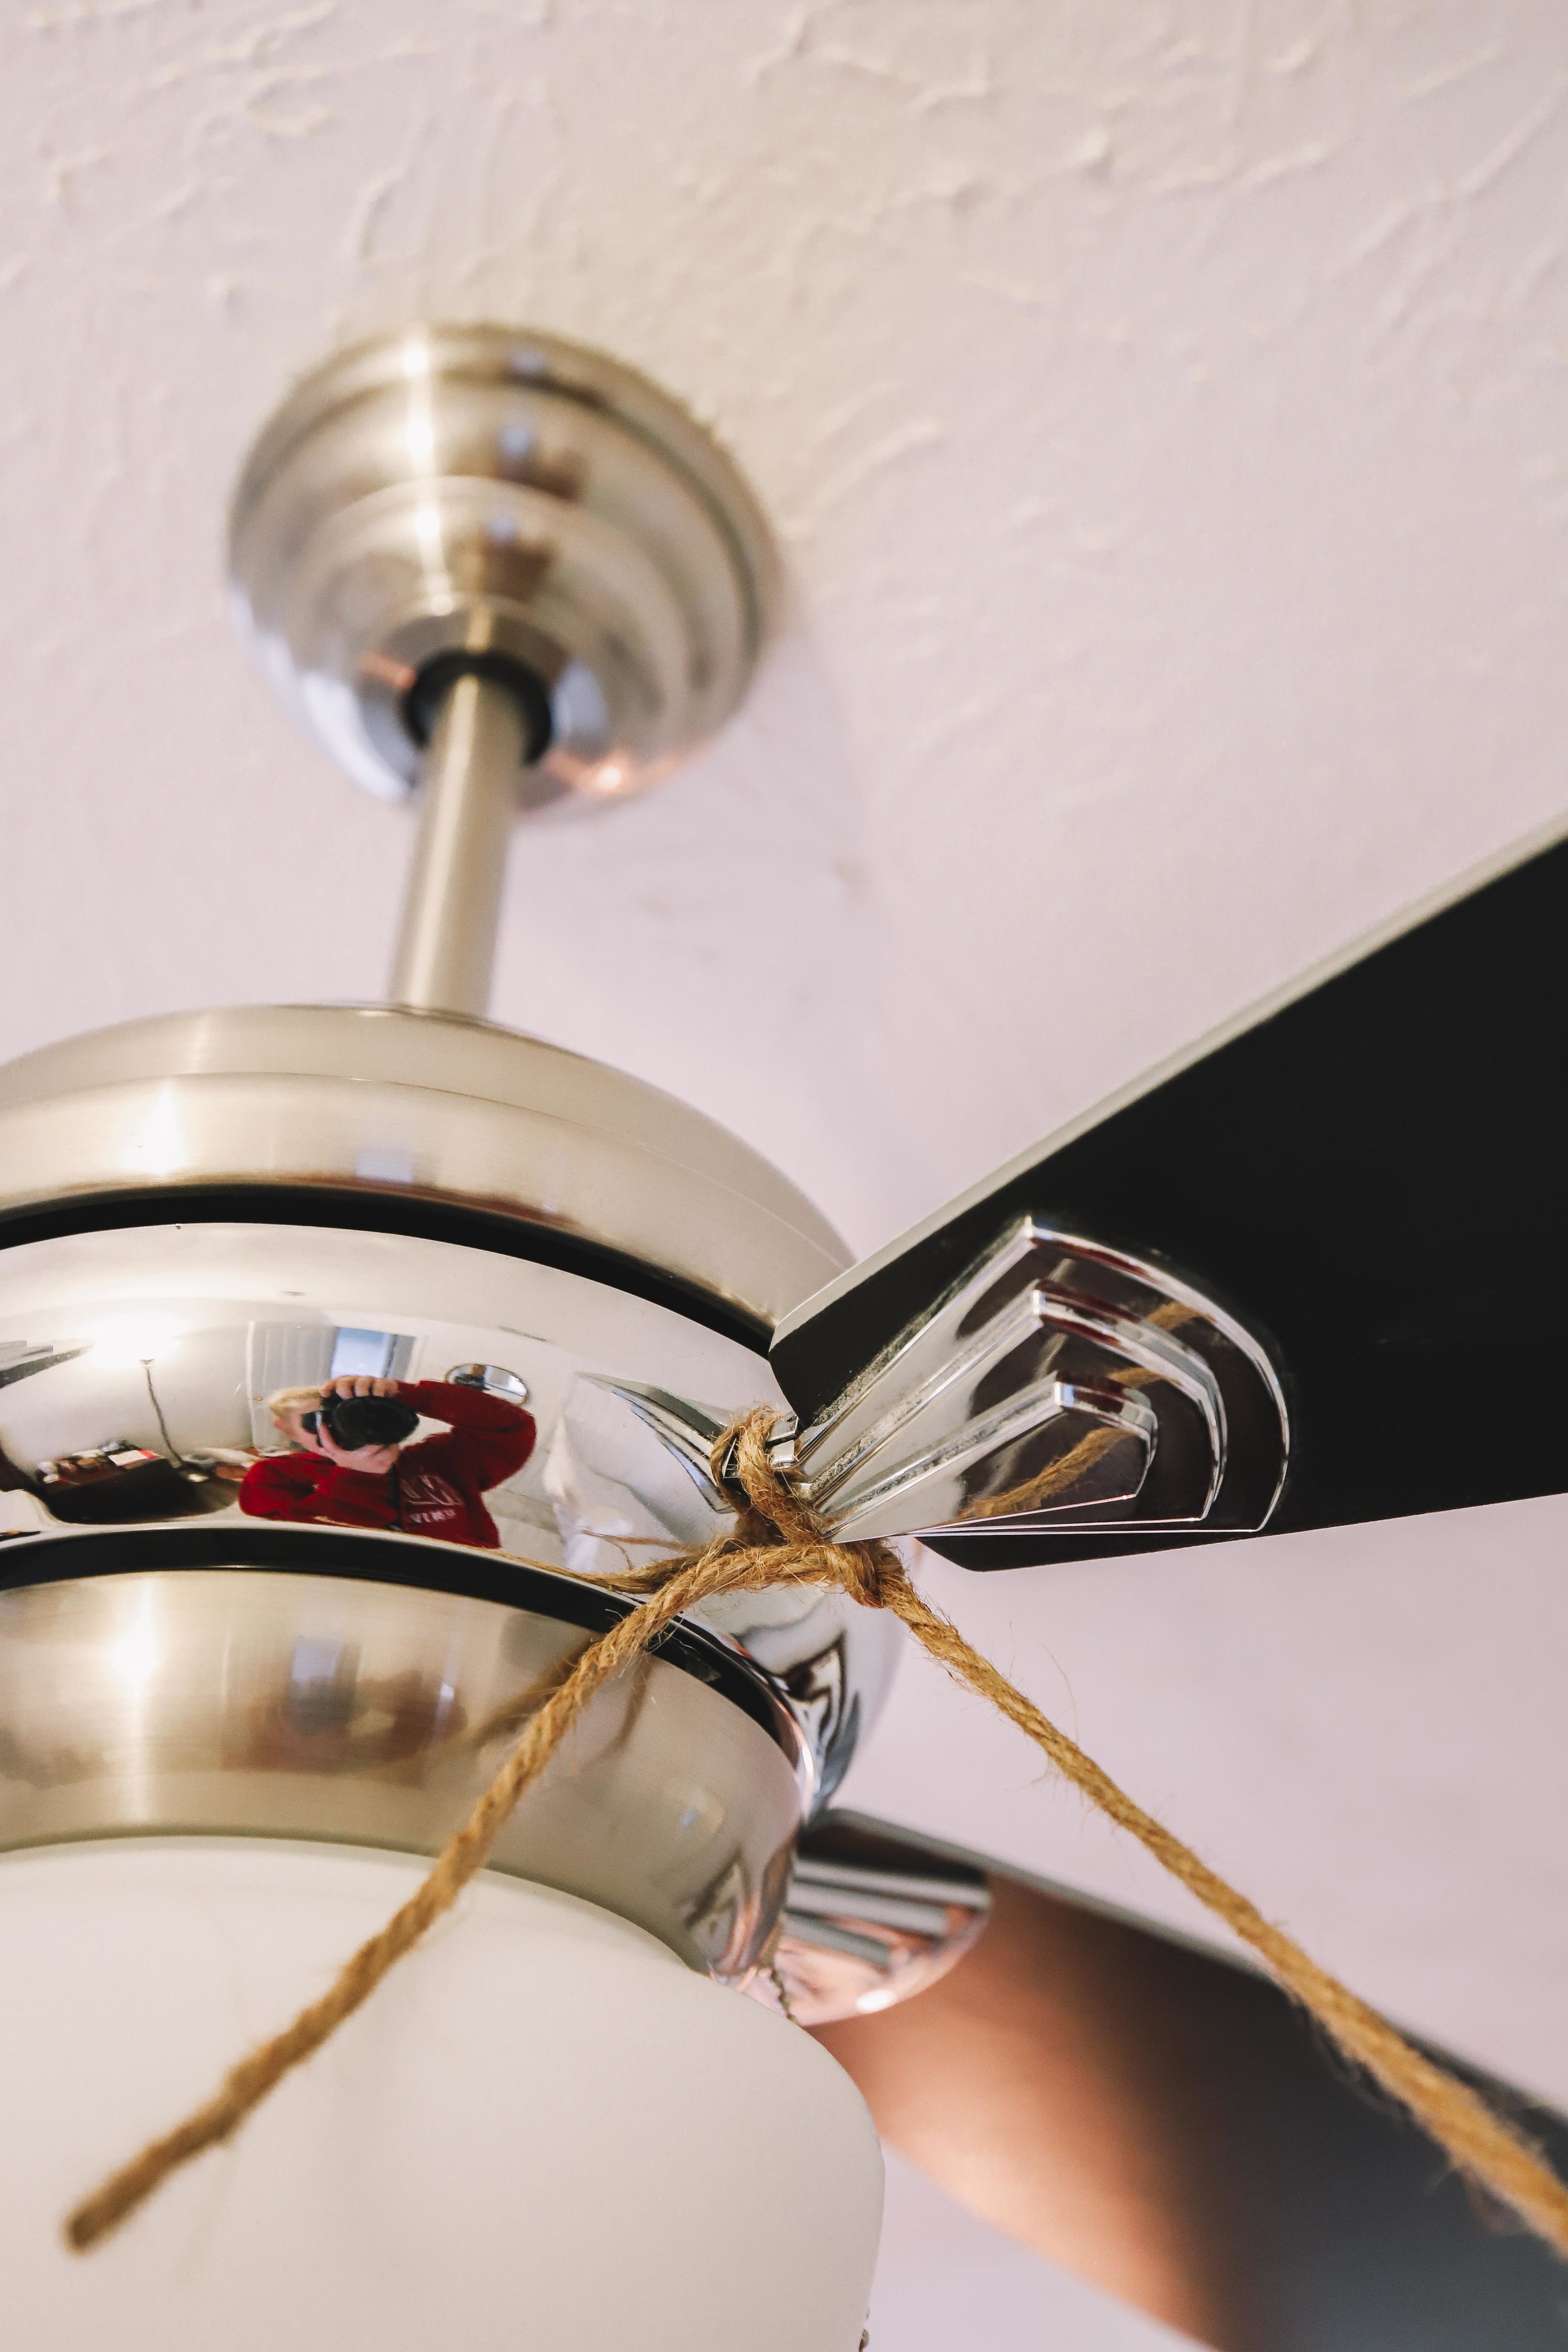
Connection points! This is where you have to get creative and it will depend on what you have readily available to you. To secure the blankets from the chairs to the furniture you will most likely need some connection points in between. Below you can see a few that we came up with and used including: clothes pinning blankets together, jute stringing a blanket to the fan, using books to hold down the ends and even closing them into the door.


Step 06:
Find a large wrapping paper tube or something similar. We used this to prop of the biggest blanket up in the center to have a better view of the TV. This is great if you need more support in your fort or a better view!

Step 07:
Now that you have the majority of your fort put together, now add in your decorative pillows covering any unnecessary connection points or any furniture left open (I used deco pillows to cover the large mirror on my wall to the left!)

Step 08:
Lights, camera, action! The last step on your fort is to add those lit beauties! String some along the outer edge of the fort, the rest go the inside to give you some light, (especially if you opted out of the TV!)

Step 09:
Get started on your snacks! I am going to be sharing with you one of my personal favorite gluten + dairy free movie snacks!

Step 10:
Make the Dairy + Gluten free Hot Chocolate
1. Put the Simple Truth Chocolate Almond Milk in your mugs and microwave for 1.5 minutes!
2. Stir once they finish to ensure they are warm all the way through. Microwave longer if needed.
3. Add your marshmallows (I am just using the generic Kroger brand ones!) I also love these I found at Earthfare!
4. To top it off (and make it even more gram worthy!) drizzle some Hershey's chocolate syrup onto the marshmallows and let it all sink in!


Step 11:
Pop some popcorn! I am obsessed with Orville Redenbacher's Naturals Simply Salted. This is where you can add in any extra snacks or goodies you want!


PART 03: SNAP SOME PICS, ADD A HASHTAG AND ENJOY!
Introducing your very own Ultimate Fortnite! You made it through, now its time to snap your very own Tumblr goals night and enjoy! Tag me @maddy.corbin and use #MaddyCorbinDIY so I can share your creation!


